
Overview
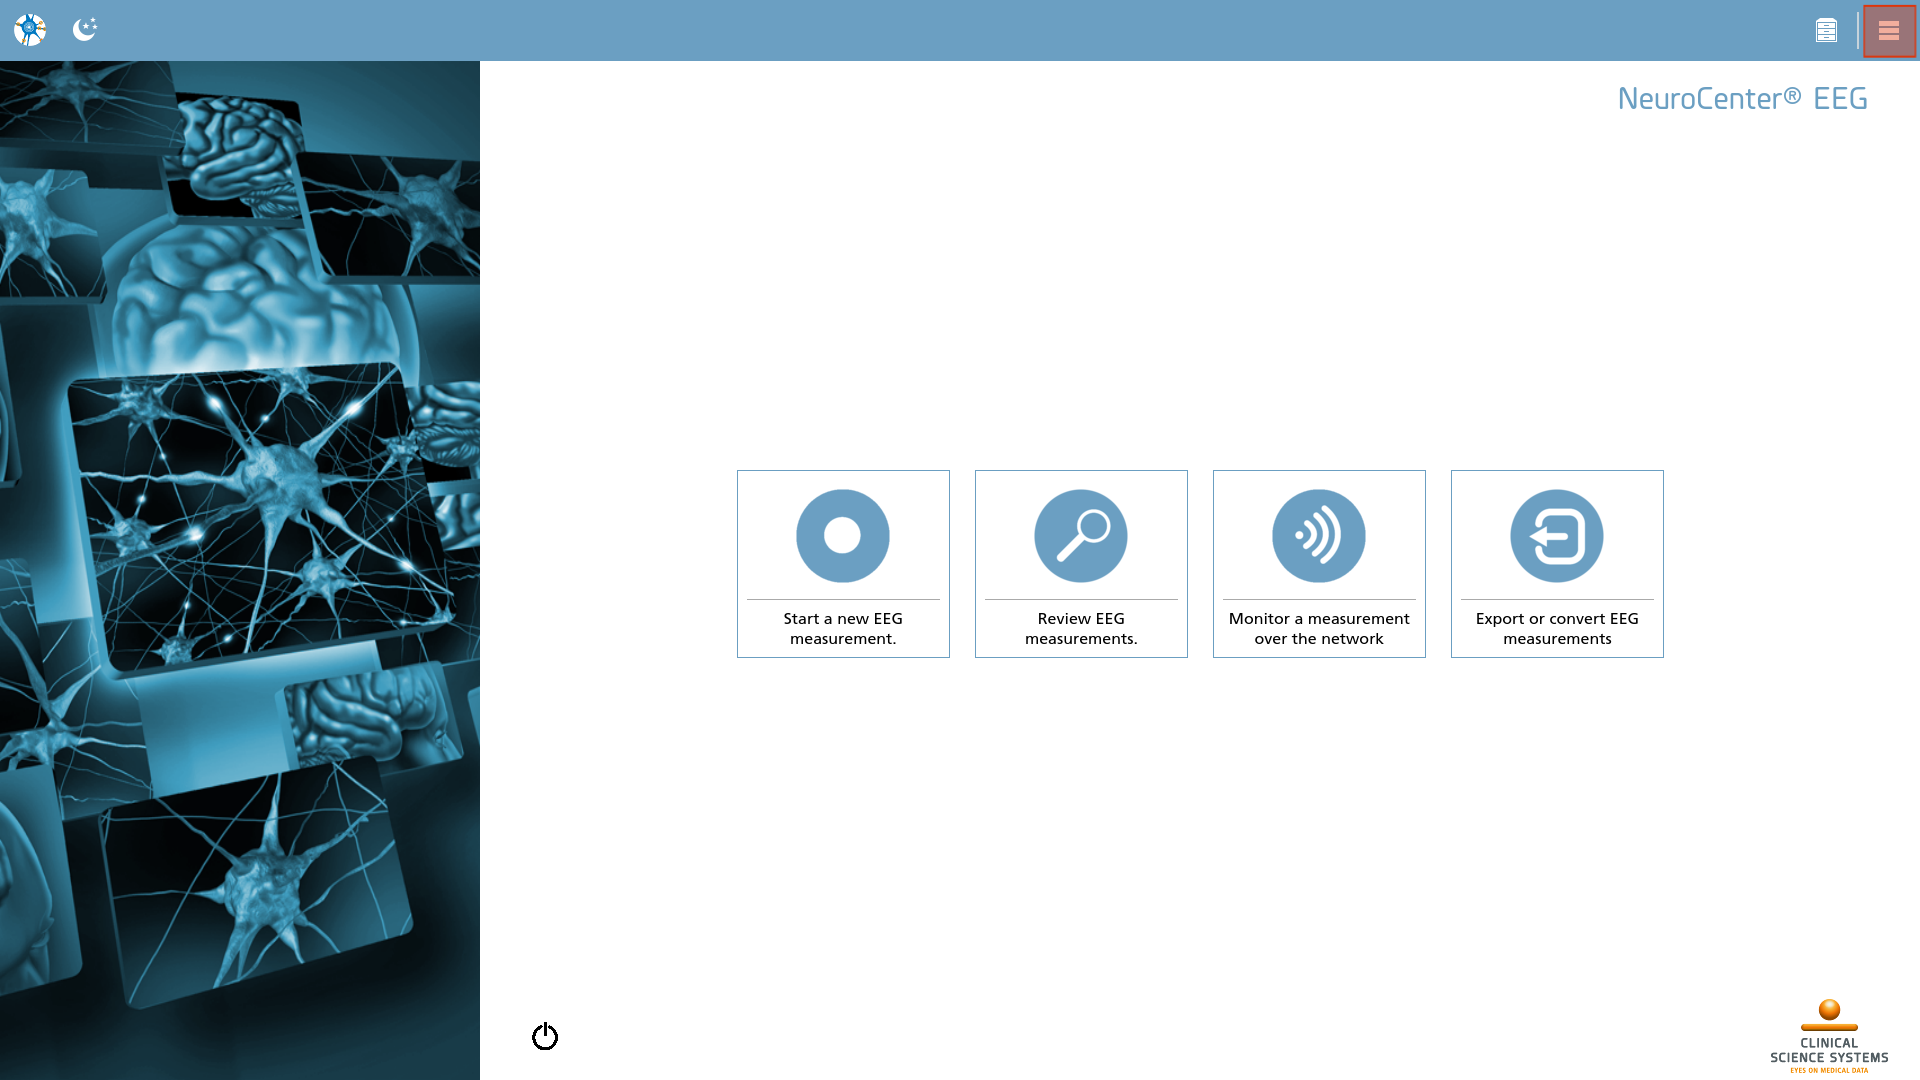
This section will provide an overview of the software configuration process for NeuroCenter® EEG. To access the configuration menu, one must click on the icon located in the action toolbar.
|
Icon |
Description |
|---|---|

|
Configure Access the configuration page of NeuroCenter® EEG. |
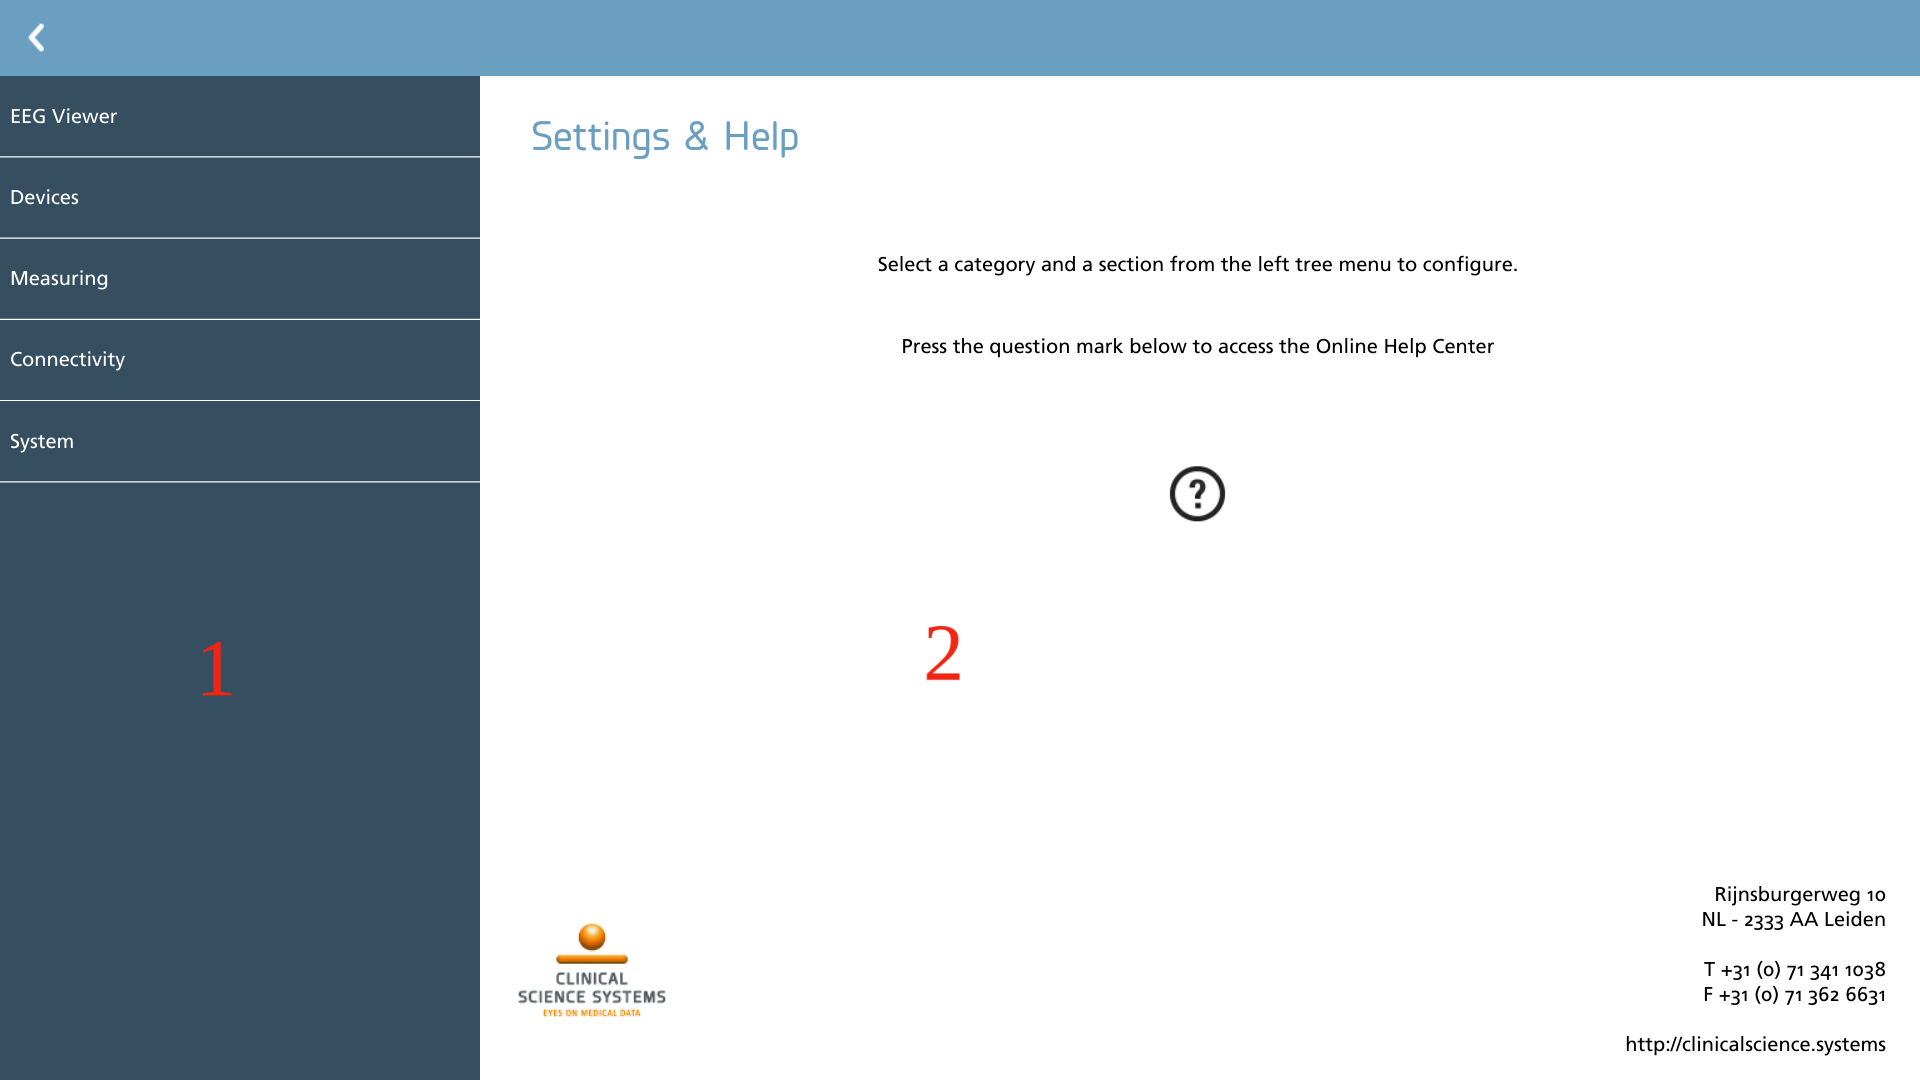
This action will direct you to the settings and help page, which is structured into two distinct sections:
-
Category and section part.
-
Configuration part;
Categories and sections
Selecting a category will reveal the underlying sections, and upon selecting a section, the configuration elements pertinent to that section will be displayed.
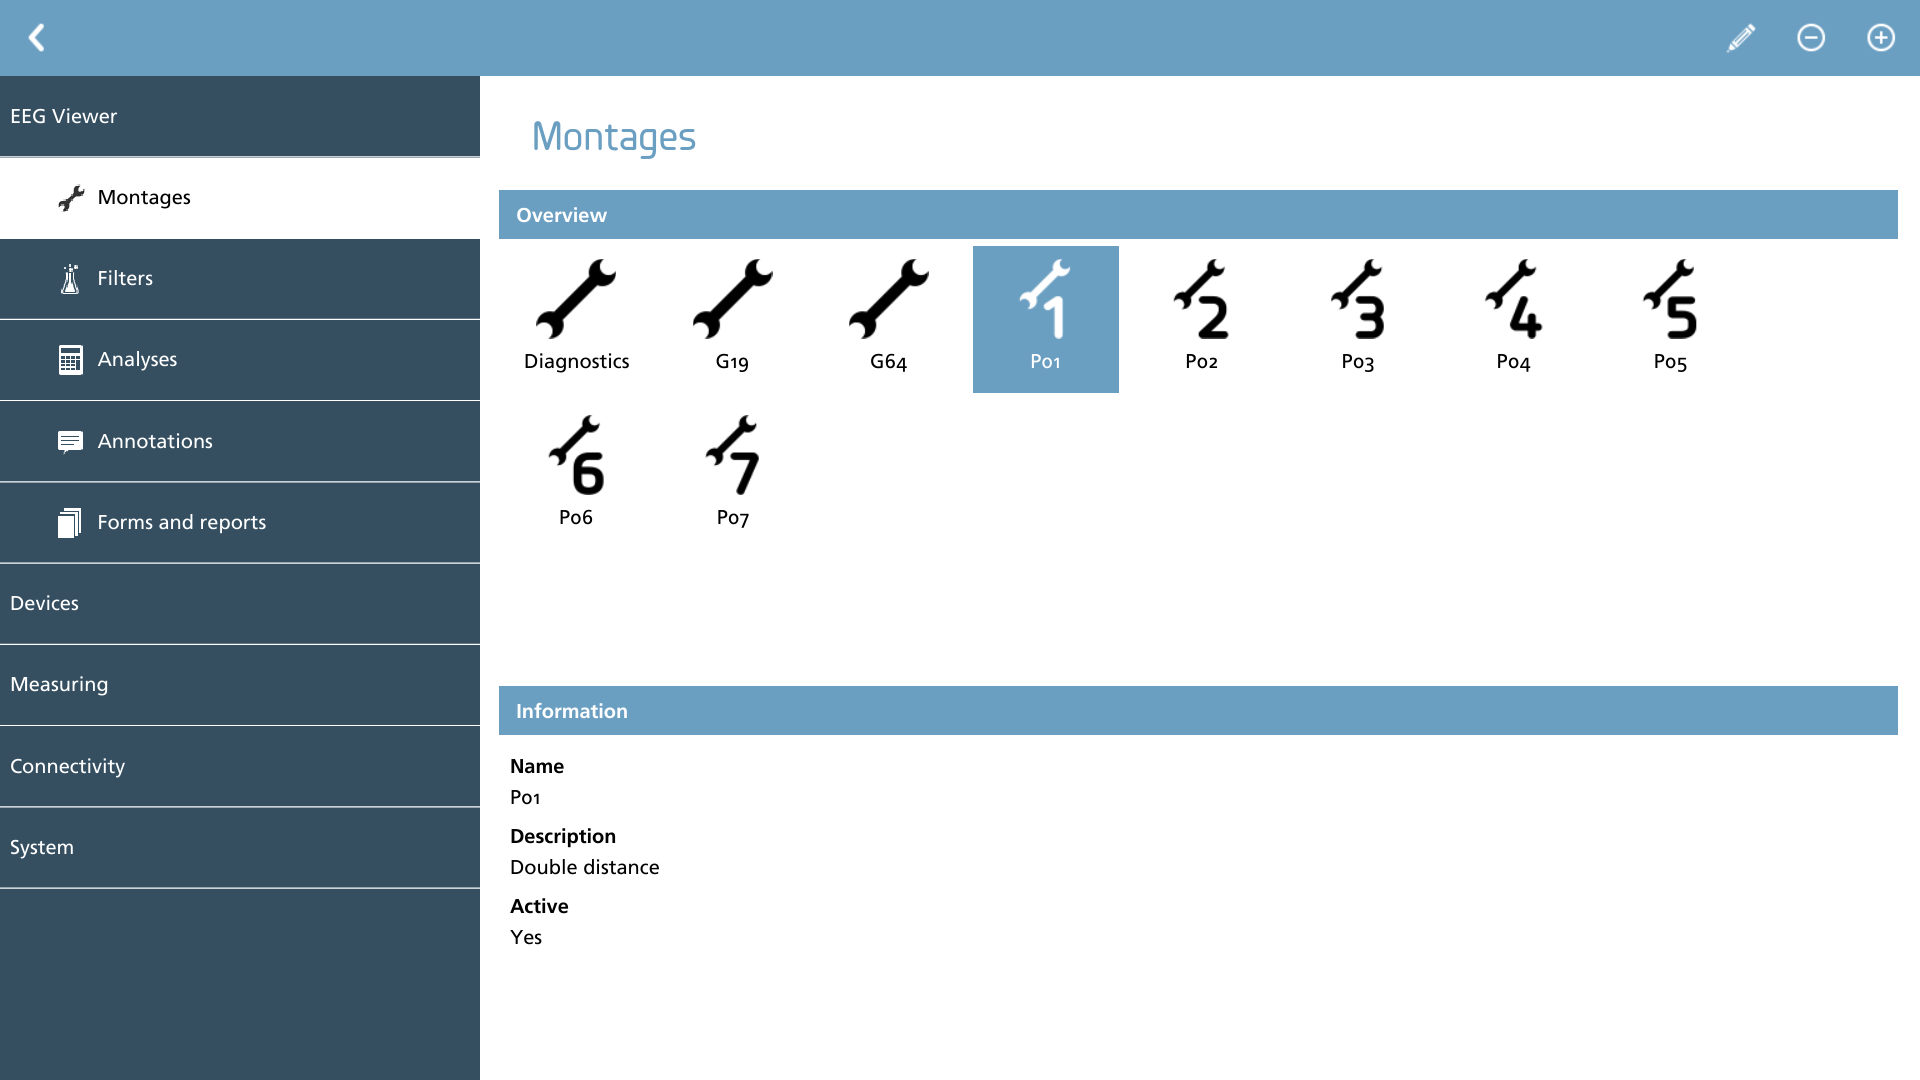
Selecting a configuration element will display an informational pane, providing its name, description, and activation status. Deactivation of an element renders it inoperable; however, its configuration parameters are retained to facilitate subsequent reactivation.
Unlocking protected sections
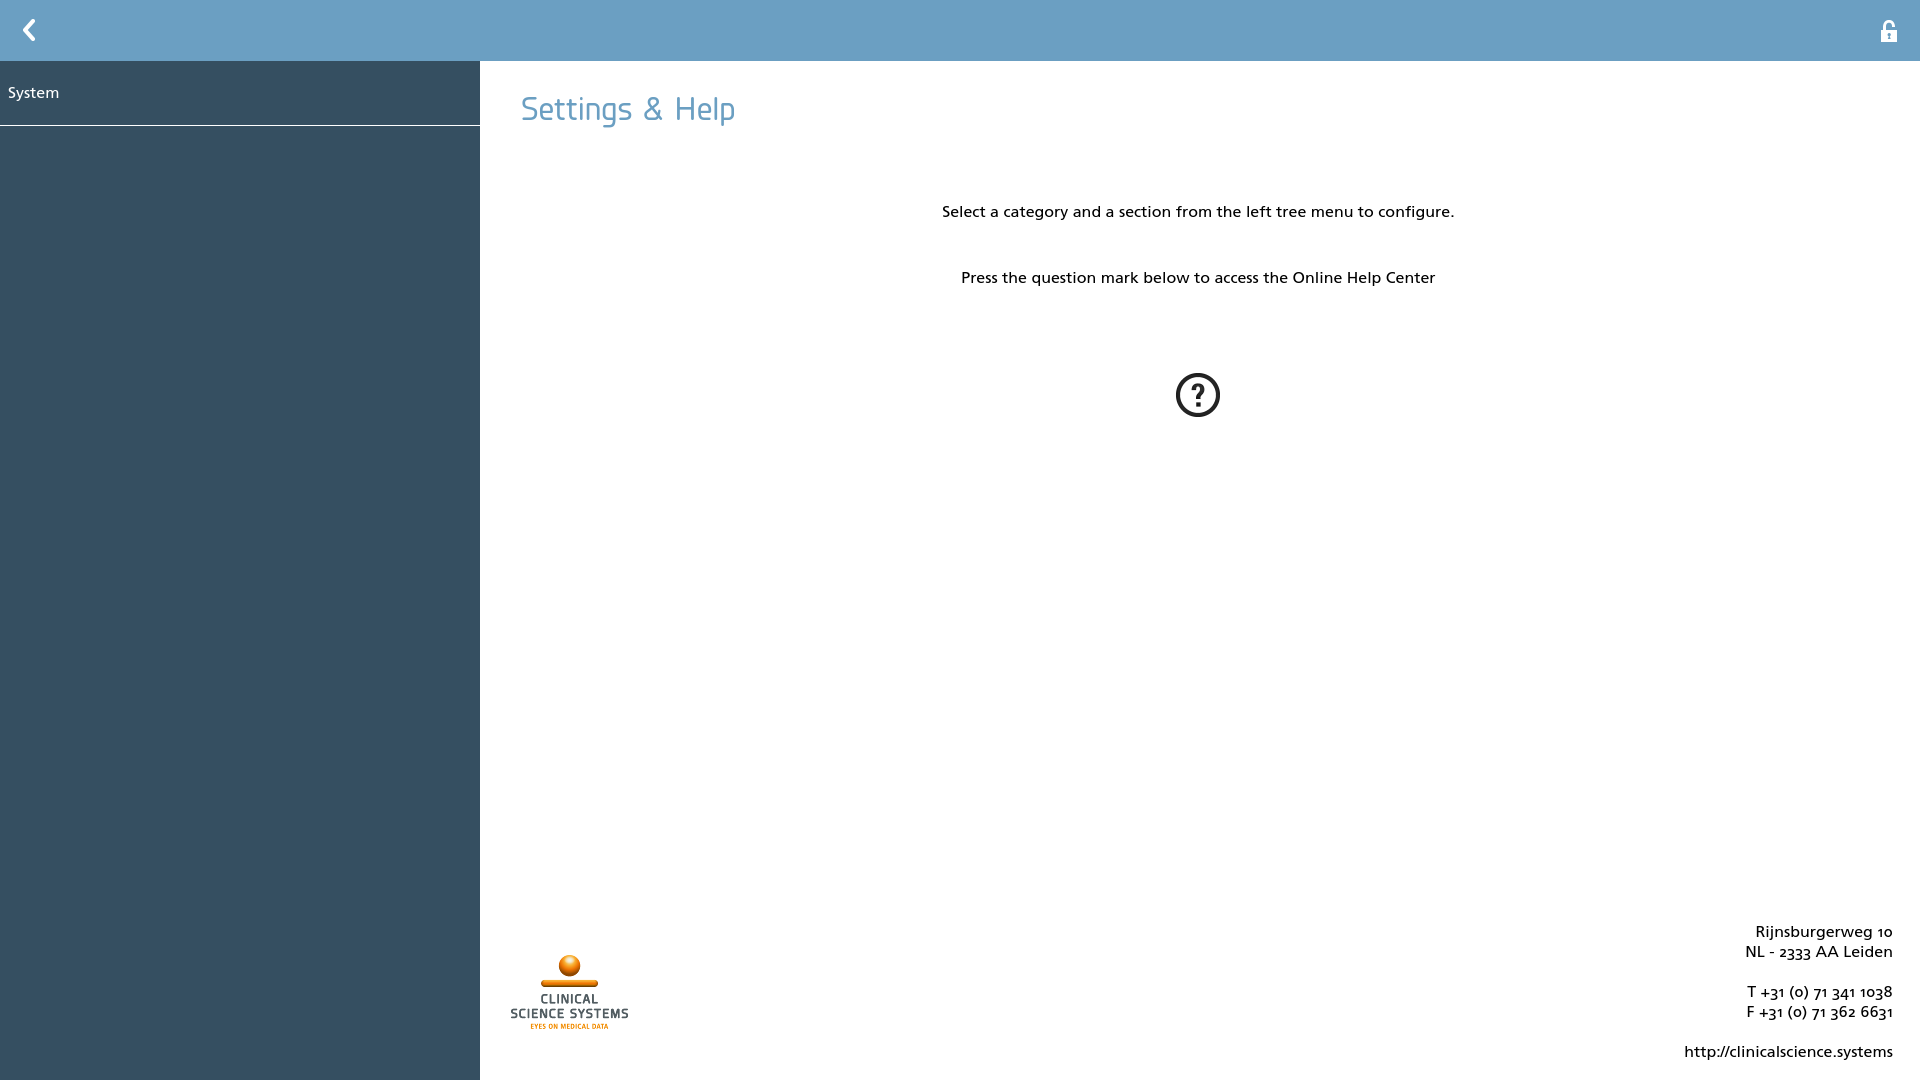
If the configuration encompasses categories and sections that are designated as protected, this is denoted by an unlock action present in the action toolbar. To gain access to these protected sections, it is necessary to click on the unlock action and input the 6-digit OTP code that is generated by your authenticator application.
|
Icon |
Description |
|---|---|

|
Unlock Unlock protected categories and sections. |
General concepts
Each configuration section permits the addition, removal, and modification of elements. To accommodate the diverse options within each configuration section, a range of actions are accessible from the upper right-hand corner.
|
Icon |
Description |
|---|---|

|
Add Add a new element within this category section. |

|
Remove Remove the selected element |

|
Edit Edit the selected element |
To navigate to a prior screen within the settings, one can utilize the back button located in the top left corner or employ the keyboard shortcut 'ESC'. When the back button is activated while on the settings home page, the program reverts to the screen from which the settings were accessed.
|
Icon |
Description |
|---|---|

|
Back Navigate back to the previous screen within the settings, or to return to the prior screen in the program when no further backward navigation is possible. |
Elements
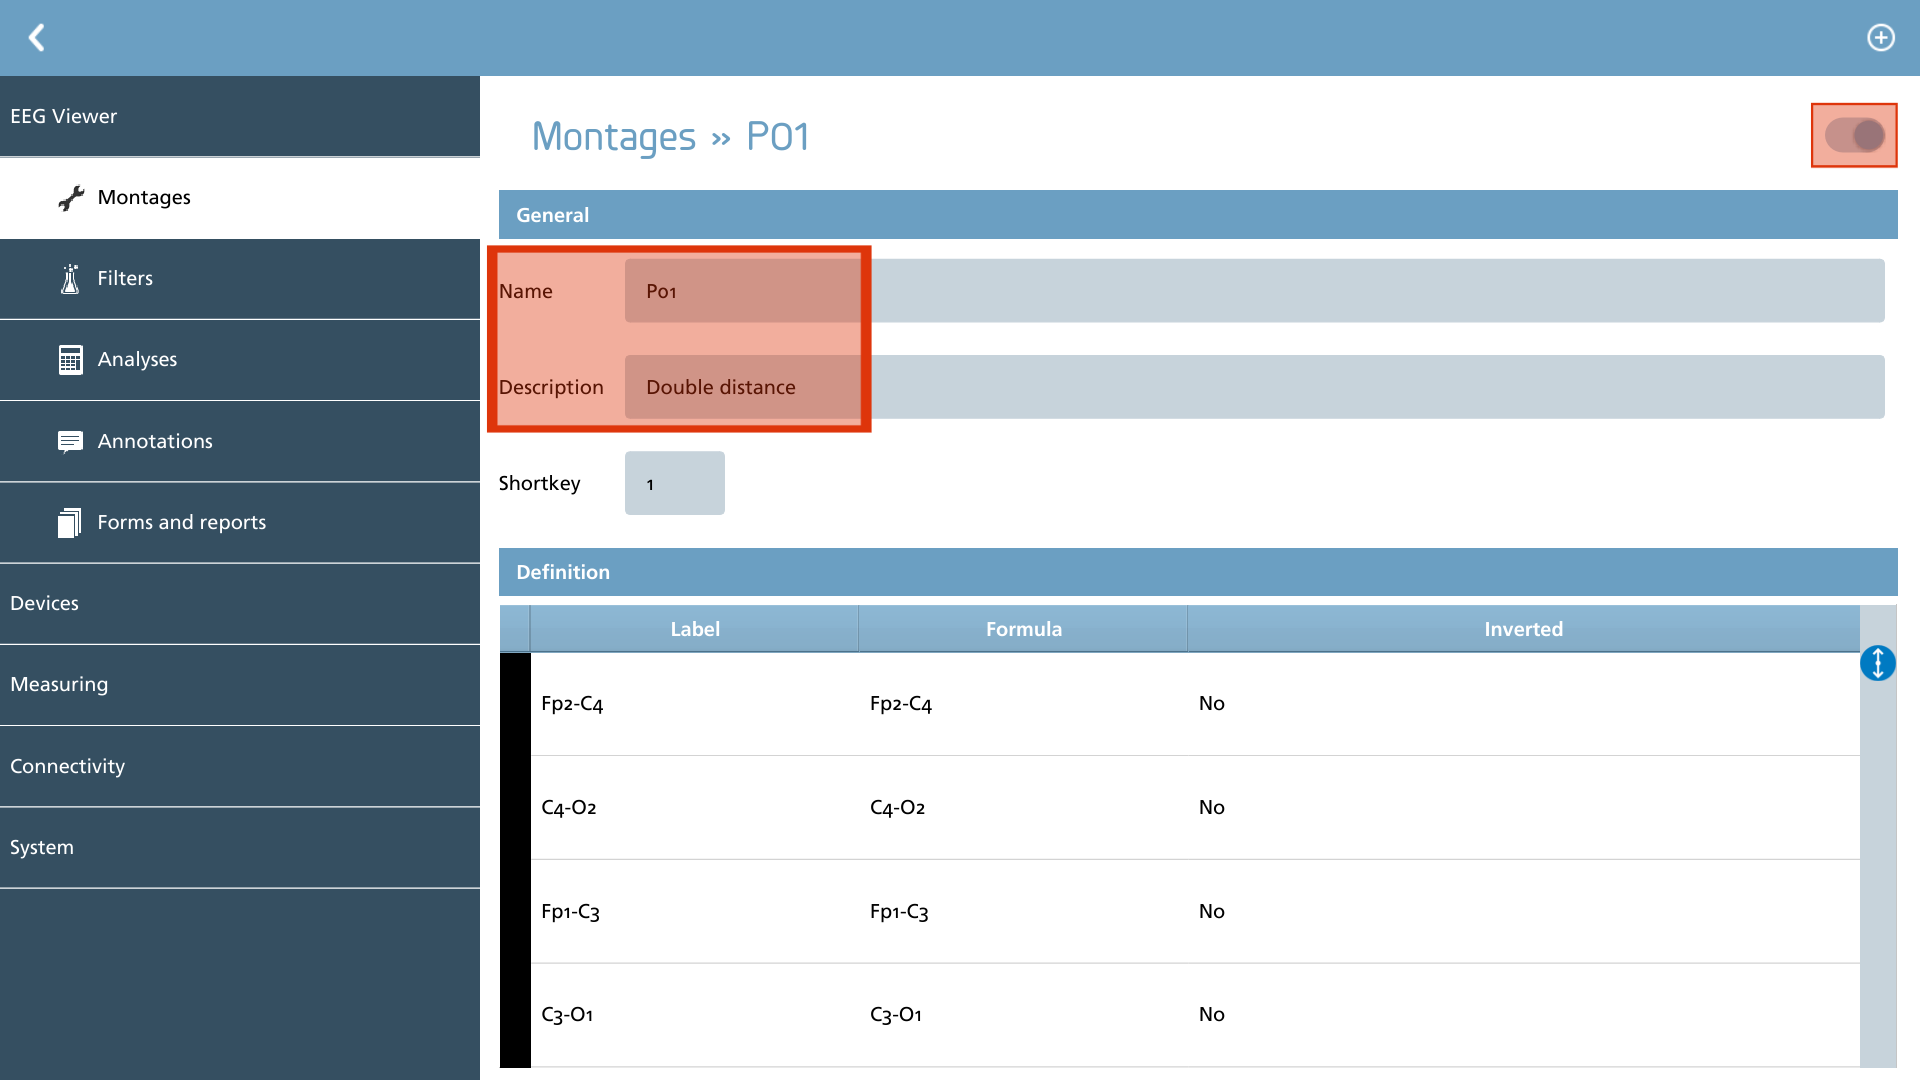
When configuring an element, it is essential to note that the name and description of the element being configured are displayed prominently, along with an activation switch. These fields are consistently present on any configuration element. The remaining sections of the page, along with the related actions, are tailored specifically to the category type that is currently being configured.
Plugins
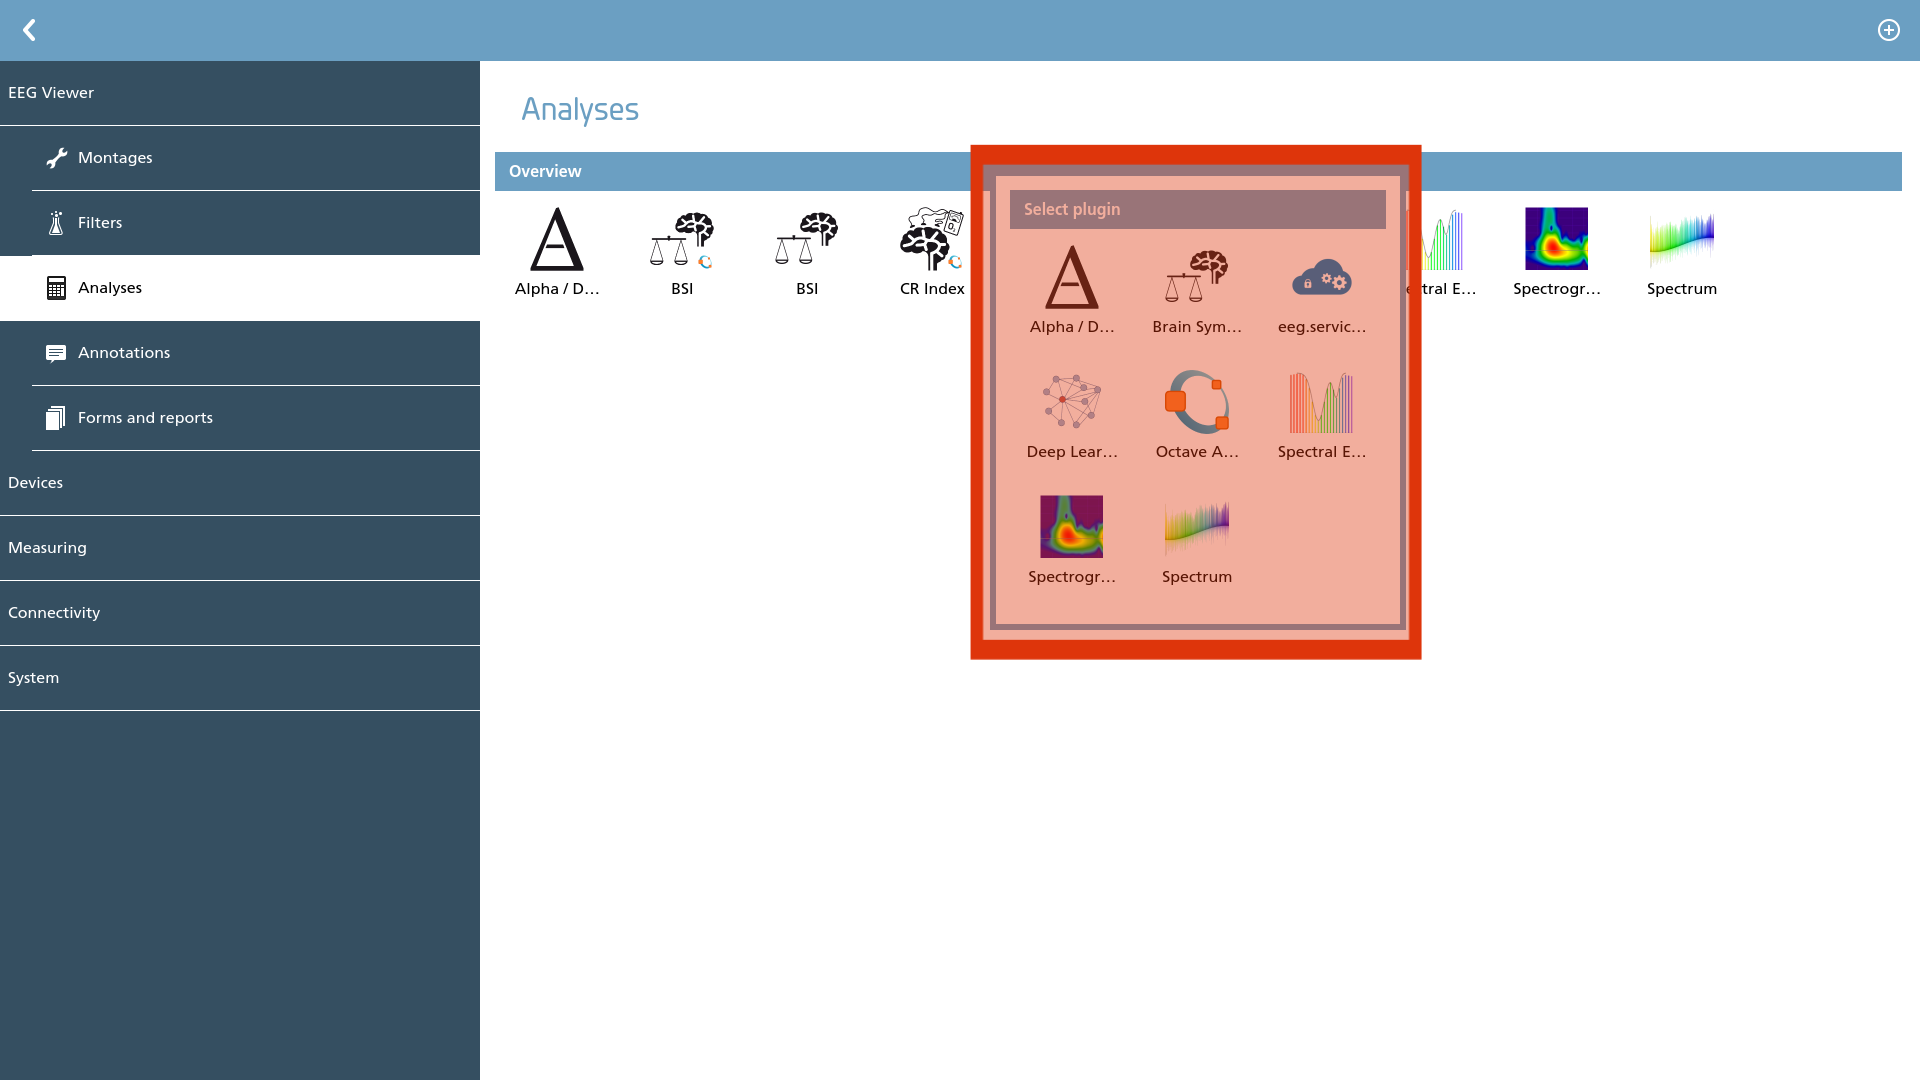
When adding a new element in any of the specified sections, a ‘Select plugin’ window is presented. In this window, the user must first select the desired plugin. Upon selection, a new entry is generated that can be further configured according to the user's requirements.
|
Icon |
Plugin |
|---|---|

|
Actuators |

|
EEG amplifiers |

|
Analyses |

|
Cameras |

|
Cloud storage |

|
Export |

|
Filters |

|
File storage |
The configuration elements are automatically saved upon exiting the specific configuration page, ensuring that changes are preserved without the need for manual saving.
It is advisable to protect certain settings with a One-Time Password (OTP) after completing the initial configuration. For guidance on this process, please refer to this section for configuration instructions.
Please note that not all sections may be accessible in your specific setup. The availability of certain features is contingent upon your license type, environment, or potential access restrictions. If you encounter limitations in editing specific configuration aspects, it is recommended to consult your system administrator for assistance.
It is highly discouraged to modify NeuroCenter® EEG's configuration while it is actively in use. Many settings necessitate a restart or require the closure and re-opening of the EEGs being viewed or measured. It is prudent to test your settings well in advance of active production use and to document these settings to ensure fail-safe protection and traceability.
Refer to the page below to navigate to its corresponding element configuration.