
Overview
Protocols are essential components in the process of recording electroencephalograms (EEGs). Within a protocol, various options must be configured, integrating elements from different sections to establish a cohesive measurement setup.
For each protocol, the minimum requirements include defining a storage container and selecting an appropriate amplifier. Additional options may encompass display and filter settings, predetermined annotations, stimulation sequences, and analyses that can be initiated prior to the recording.
To configure these options effectively, users can access several configuration pages through the buttons located in the action toolbar.
|
Icon |
Description |
|---|---|

|
Display settings Configure initial display settings. |

|
Filters Configure initial filter settings. |

|
Analyses Configure analyses which will be started automatically. |

|
Annotations Configure available preset annotations. |

|
Amplifiers Configure the amplifier and recording ranges. |

|
Video cameras Configure the video camera to use. |

|
Actuators Configure the available actuators and stimulation sequences. |

|
Recording script Generate or alter the recording script to use |
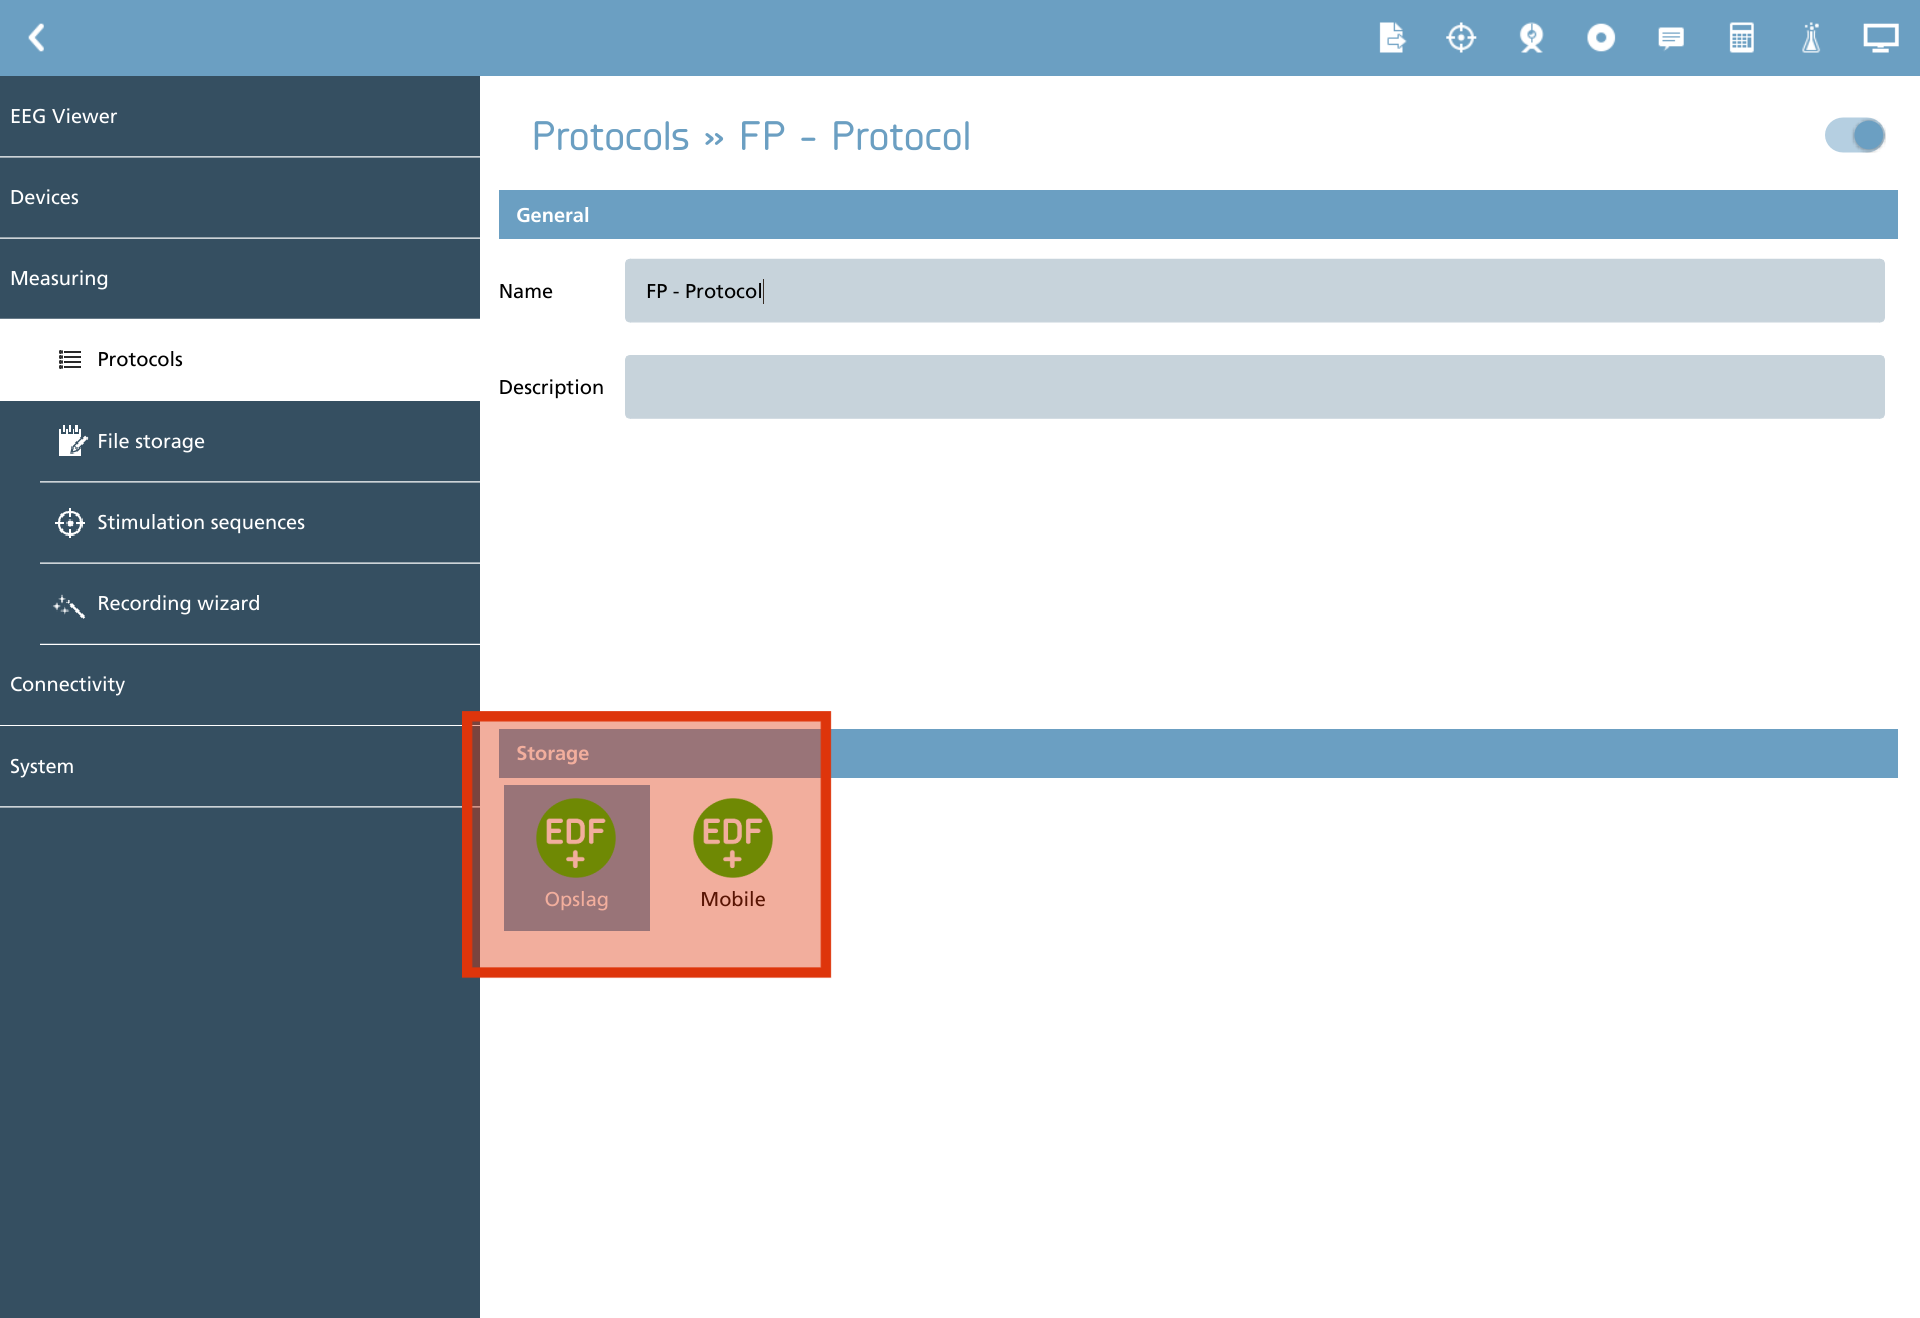
Storage container
On the initial page, it is essential to specify a storage container. The storage elements outlined in the section ‘Measuring → File storage’ are presented here, allowing for the selection of an appropriate storage container.
Display settings
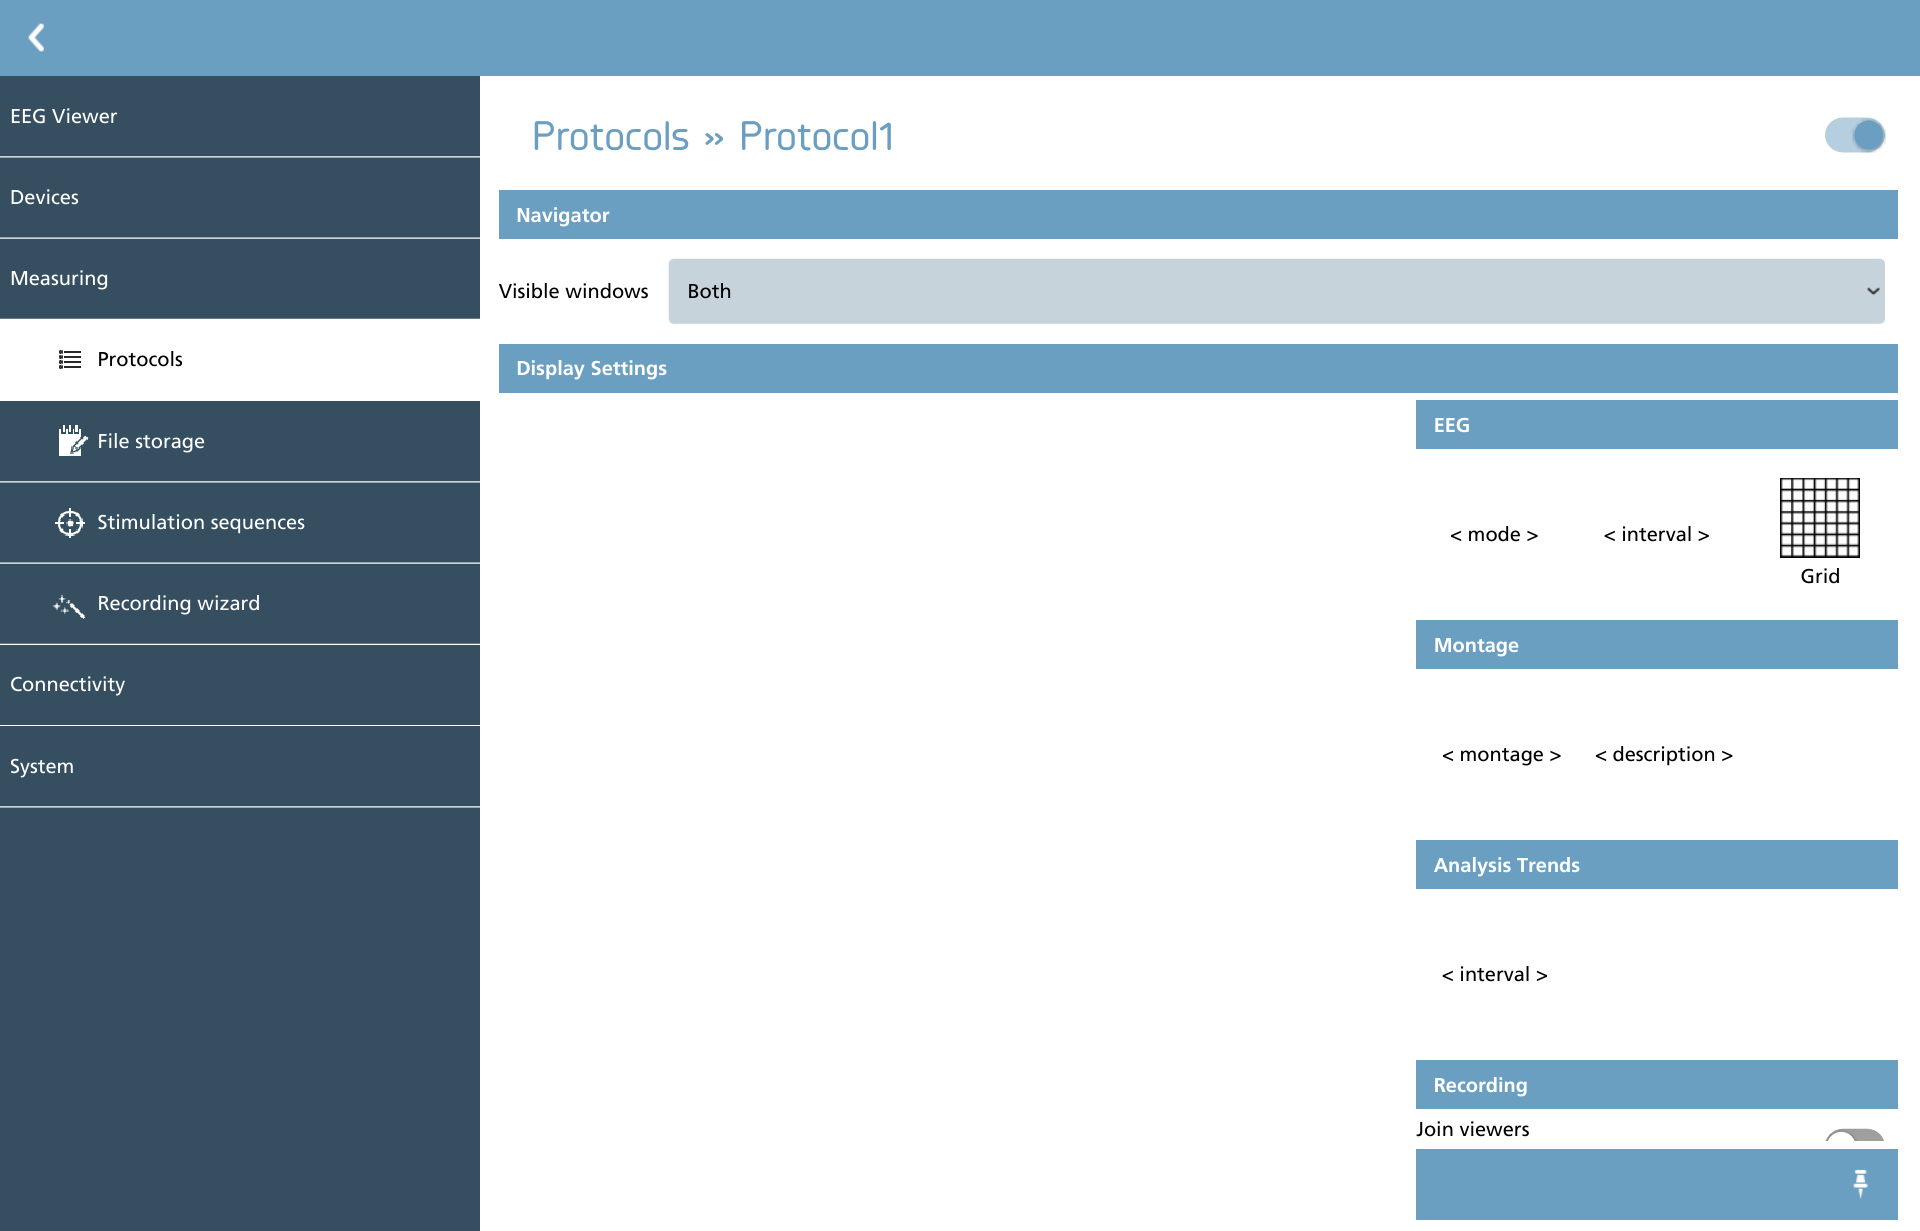
When conducting an electroencephalogram (EEG) recording, both the recorded EEG data and the real-time EEG data are displayed side by side. This configuration can be adjusted using the ‘Visible windows’ options, where users can select from the following choices:
-
Both - This option allows for the simultaneous display of both recorded and real-time EEG signals in adjacent windows.
-
Recorded signal only - In this setting, only the window displaying the recorded signal is visible, while the real-time signal window is concealed.
-
Real-time signal only - This selection permits the visibility of only the real-time signal window, with the recorded signal window being hidden.
The display settings provide an interface that mirrors the settings overlay utilized in the EEG Viewer. Here, initial configurations can be established for the representation of the signals. Users can click on the relevant setting to make adjustments, similar to the functionality available in the EEG Viewer. The following settings are supported:
-
Time mode - Options include absolute, relative, or pages.
-
The interval can be specified in either absolute seconds or in cm/sec.
-
The option to display or hide the grid.
-
The montage utilized for the EEG signals.
-
The analysis trend interval.
-
The option to join viewers.
Filter settings
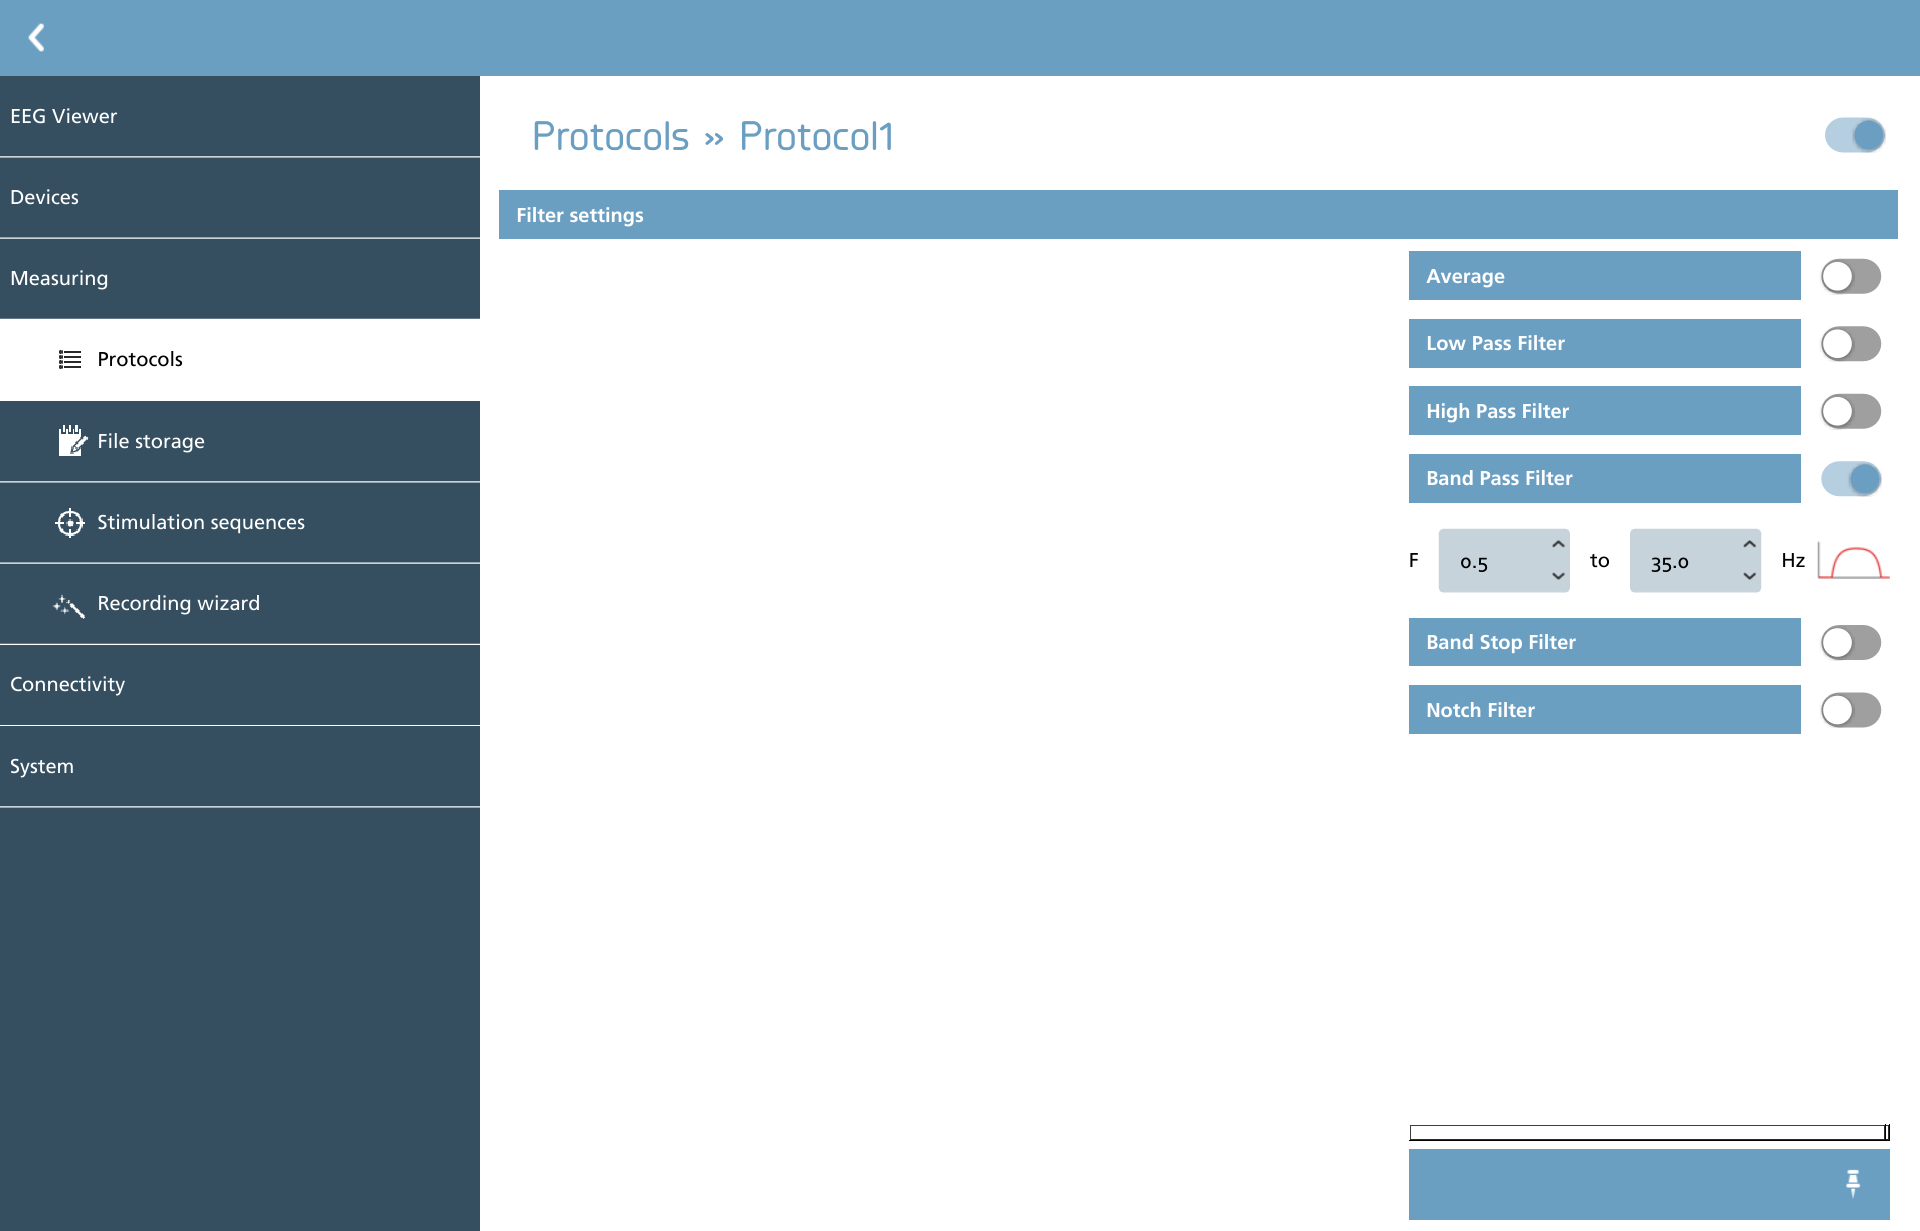
Define the initial filter settings that are to be utilized for viewing purposes. It is important to note that this list may differ depending on the filters that are enabled. The filter settings display the same overlay as utilized in the Viewer.
Analyses
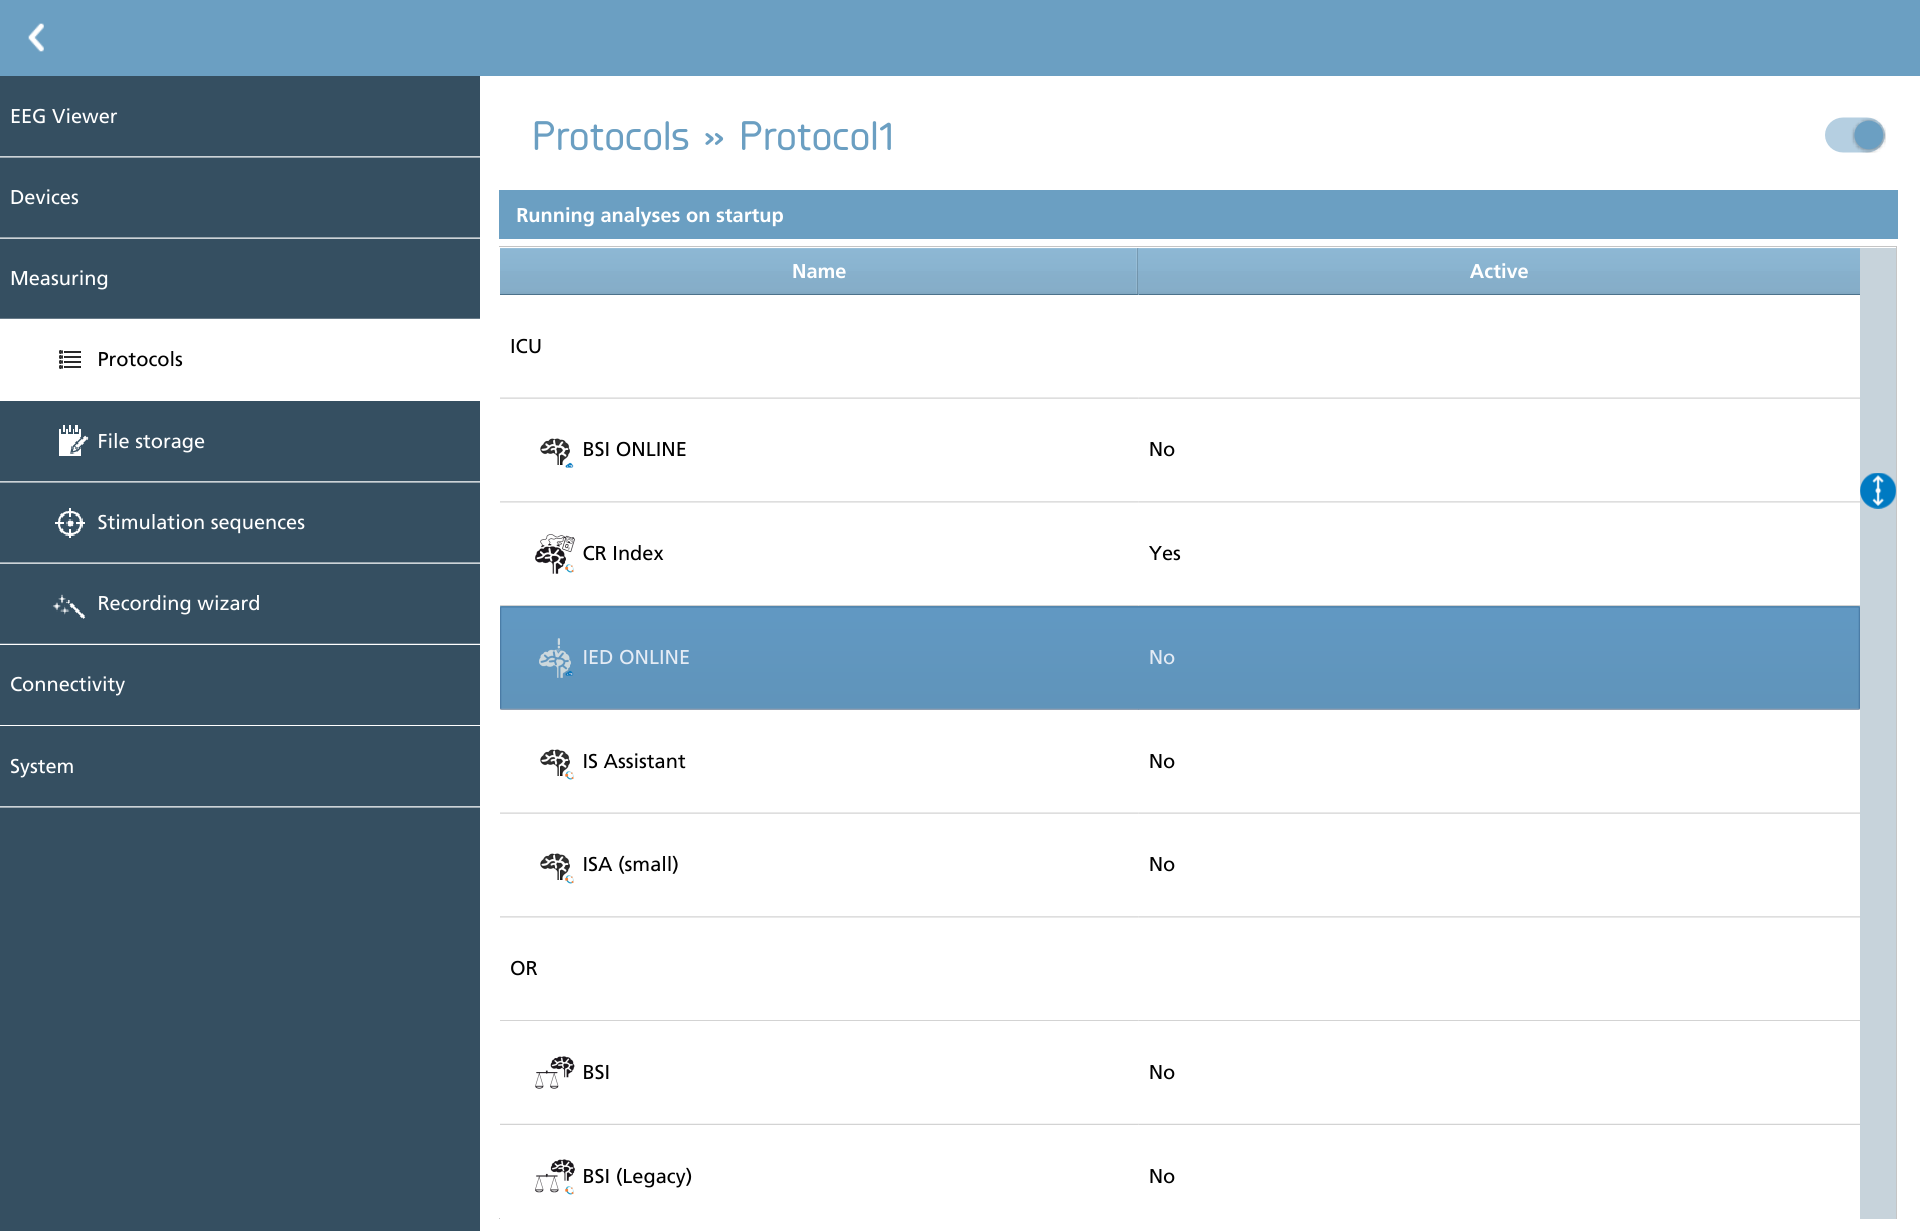
Define the running analyses that should be employed when initiating the EEG measurement. This list may differ depending on the analyses that are accessible. To activate an analysis, double-click on the desired active column and toggle the switch to the active state.
Preset annotations
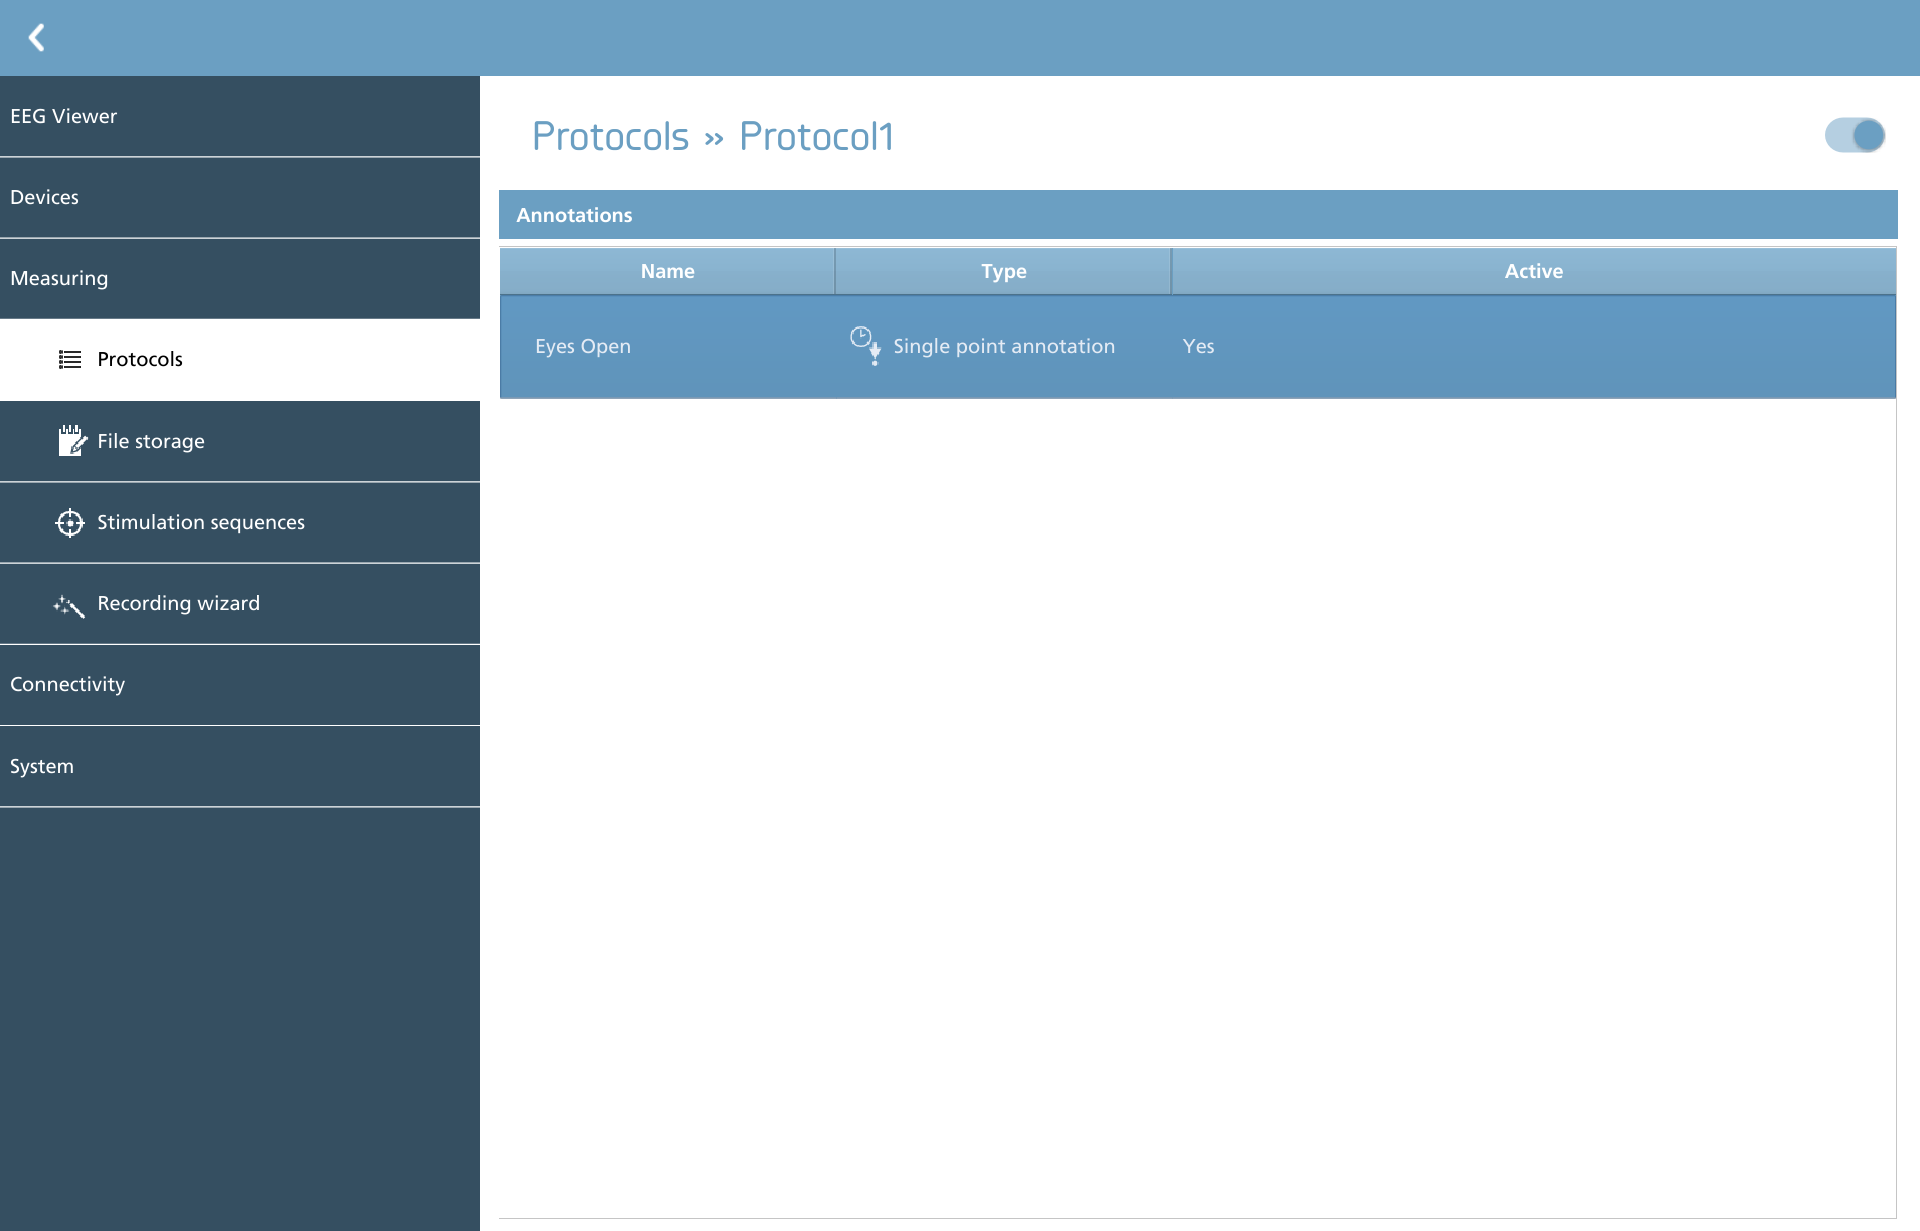
Define the available preset annotations that can be utilized for quick annotation during recording. It is important to note that this list may differ based on the annotations that have been created. To activate a preset annotation, simply double-click on the desired active column and toggle the switch to the active state.
Amplifiers and recording ranges
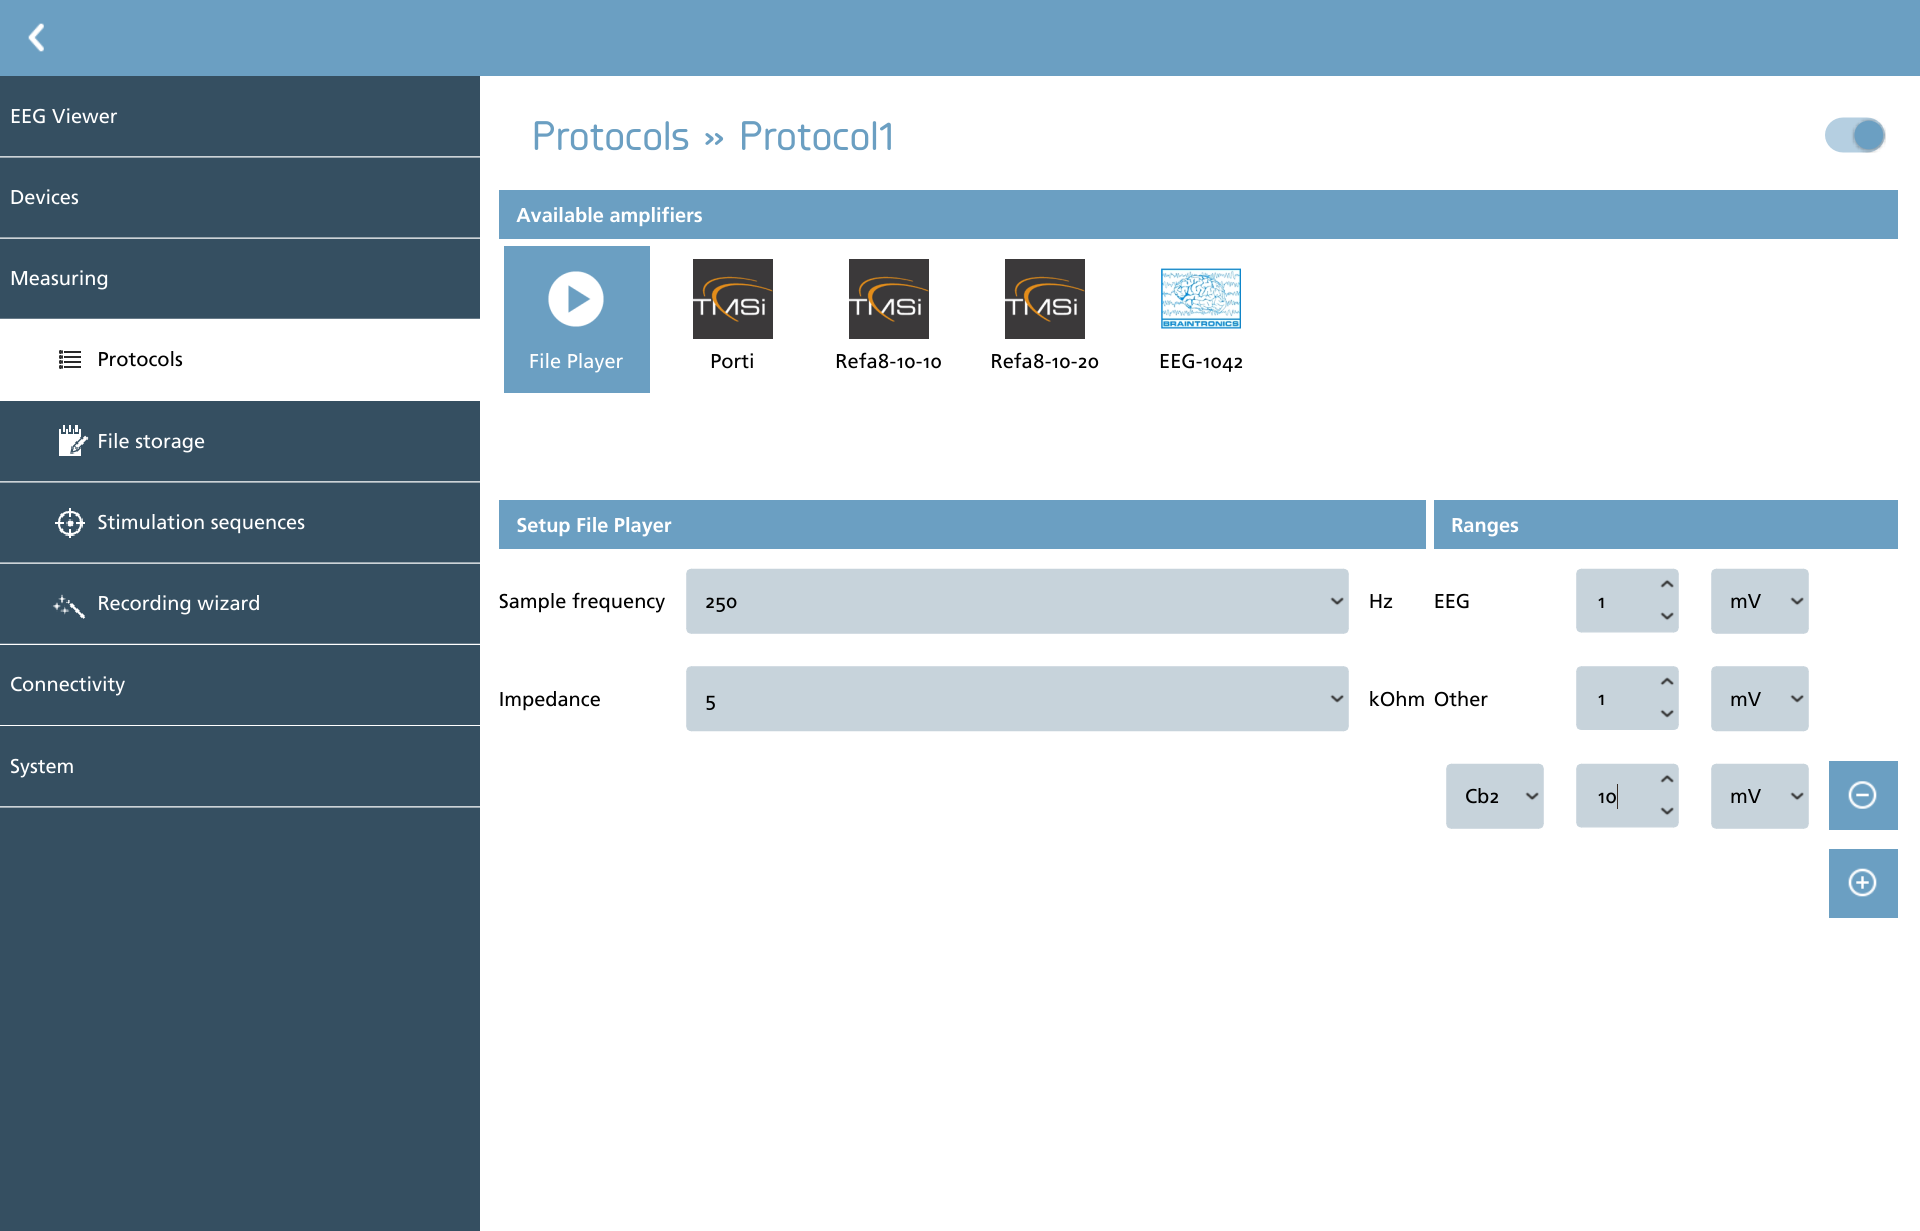
In this section, the selection of the amplifier is crucial for recording the electroencephalogram (EEG). Once the appropriate amplifier is chosen, it is initialized, allowing for the subsequent setup to become accessible. At this stage, the sample frequency must be configured, along with the initial impedance value, which is essential when transitioning to impedance mode.
The ‘Ranges’ section pertains to the range designated for storing the signal. In this context, the range is defined as encompassing both positive and negative values. For instance, selecting a range of 500µV corresponds to an interval from -500µV to +500µV. The range can be adjusted for each channel group as specified by the amplifier. Additionally, individual channel ranges may be added using the plus button and removed with the minus button adjacent to a channel range.
Multiple amplifiers can be configured in a master/slave arrangement. This setup enables simultaneous monitoring of inputs, for example from an ICP monitor and an EEG amplifier. To utilize this feature, press and hold the CTRL button while selecting the amplifiers for combined use.
Video cameras
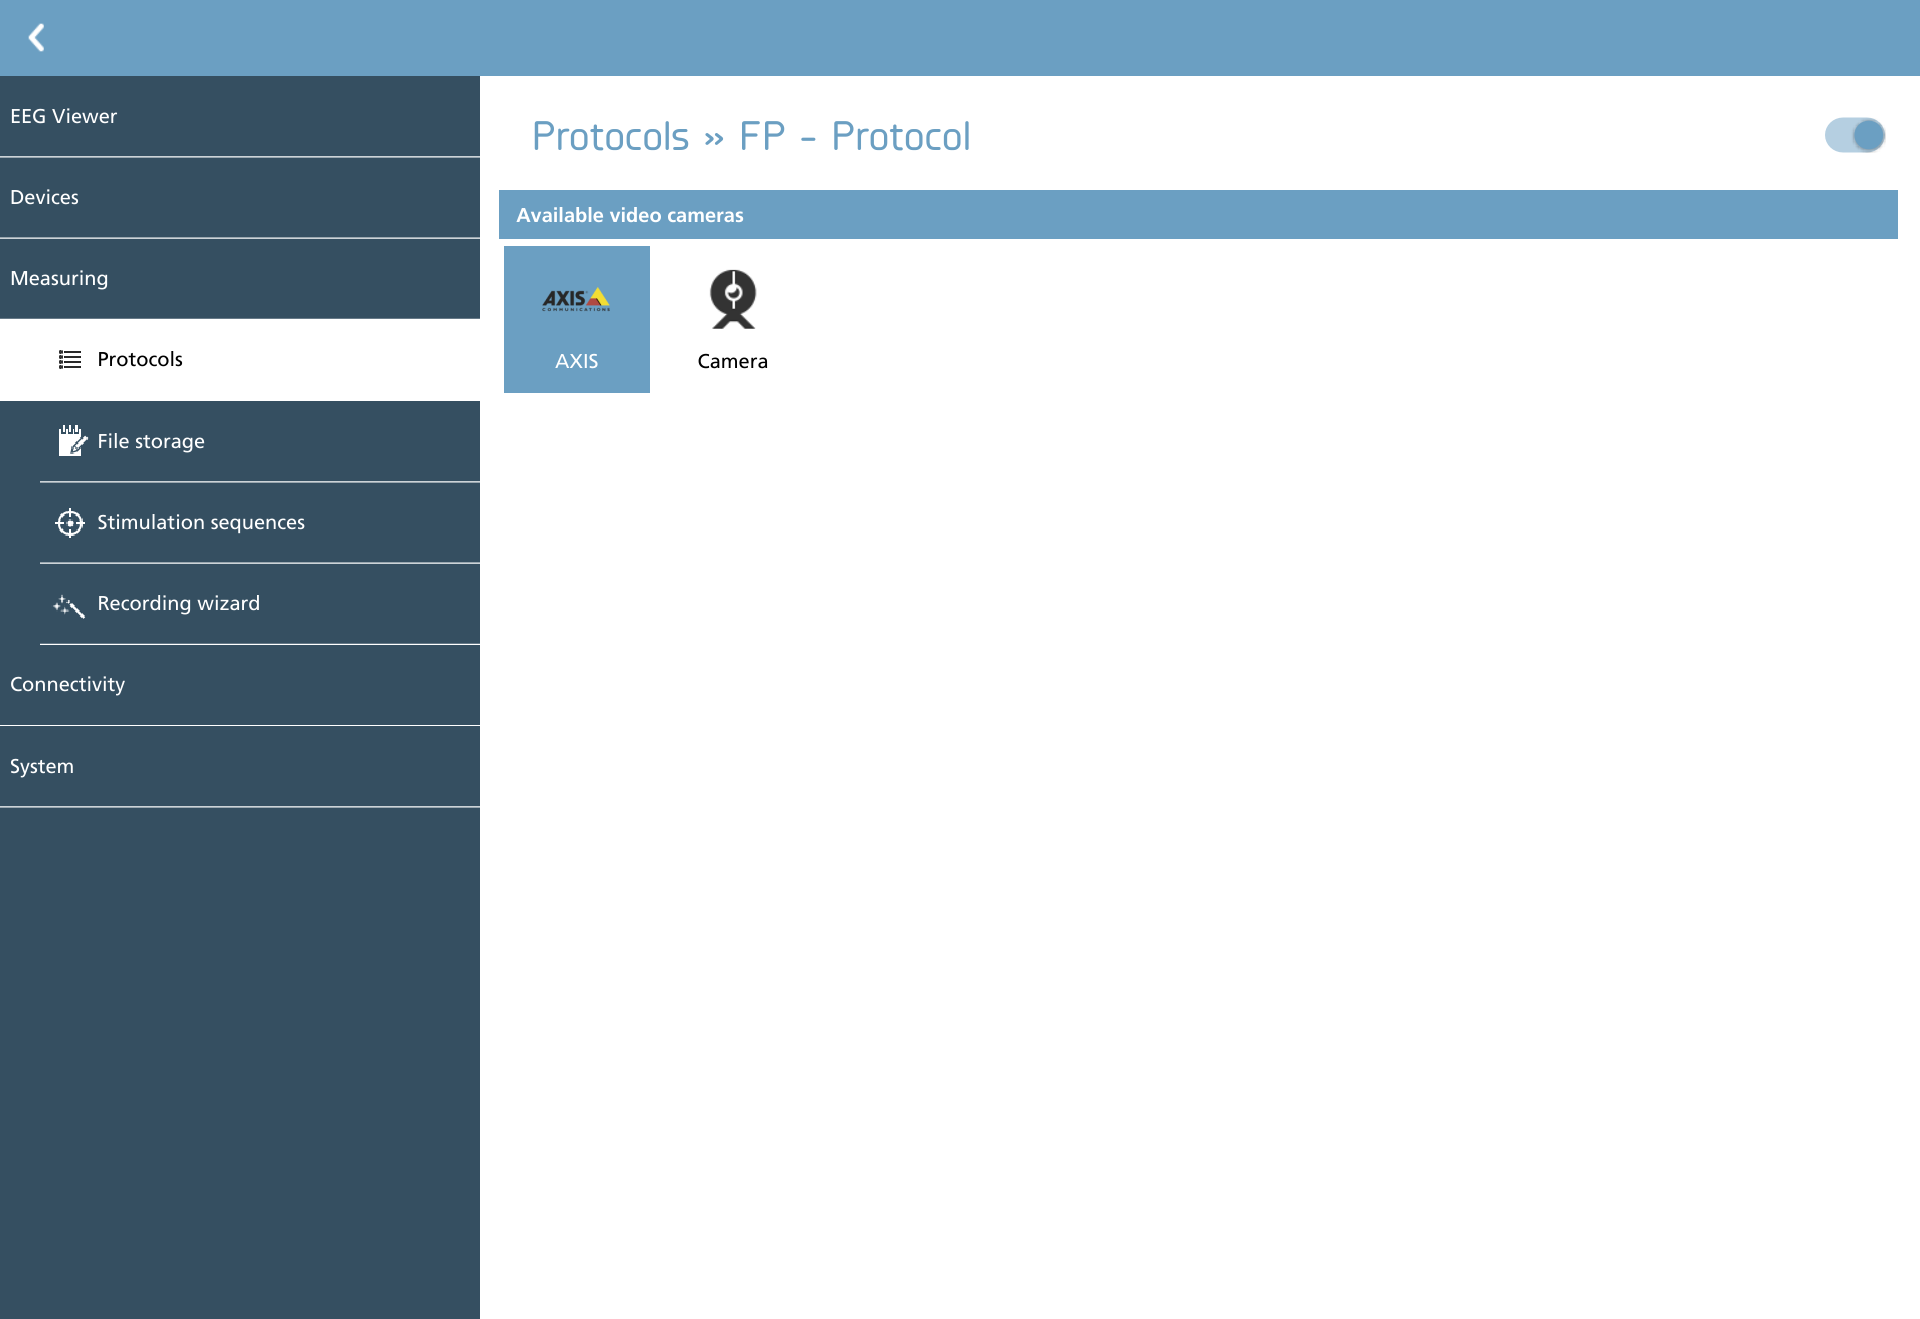
In this section, users have the option to select a video camera to record a video stream in conjunction with the EEG data. It is important to choose a video camera from the list of available options to ensure proper integration and data collection.
Actuators and stimulation sequences
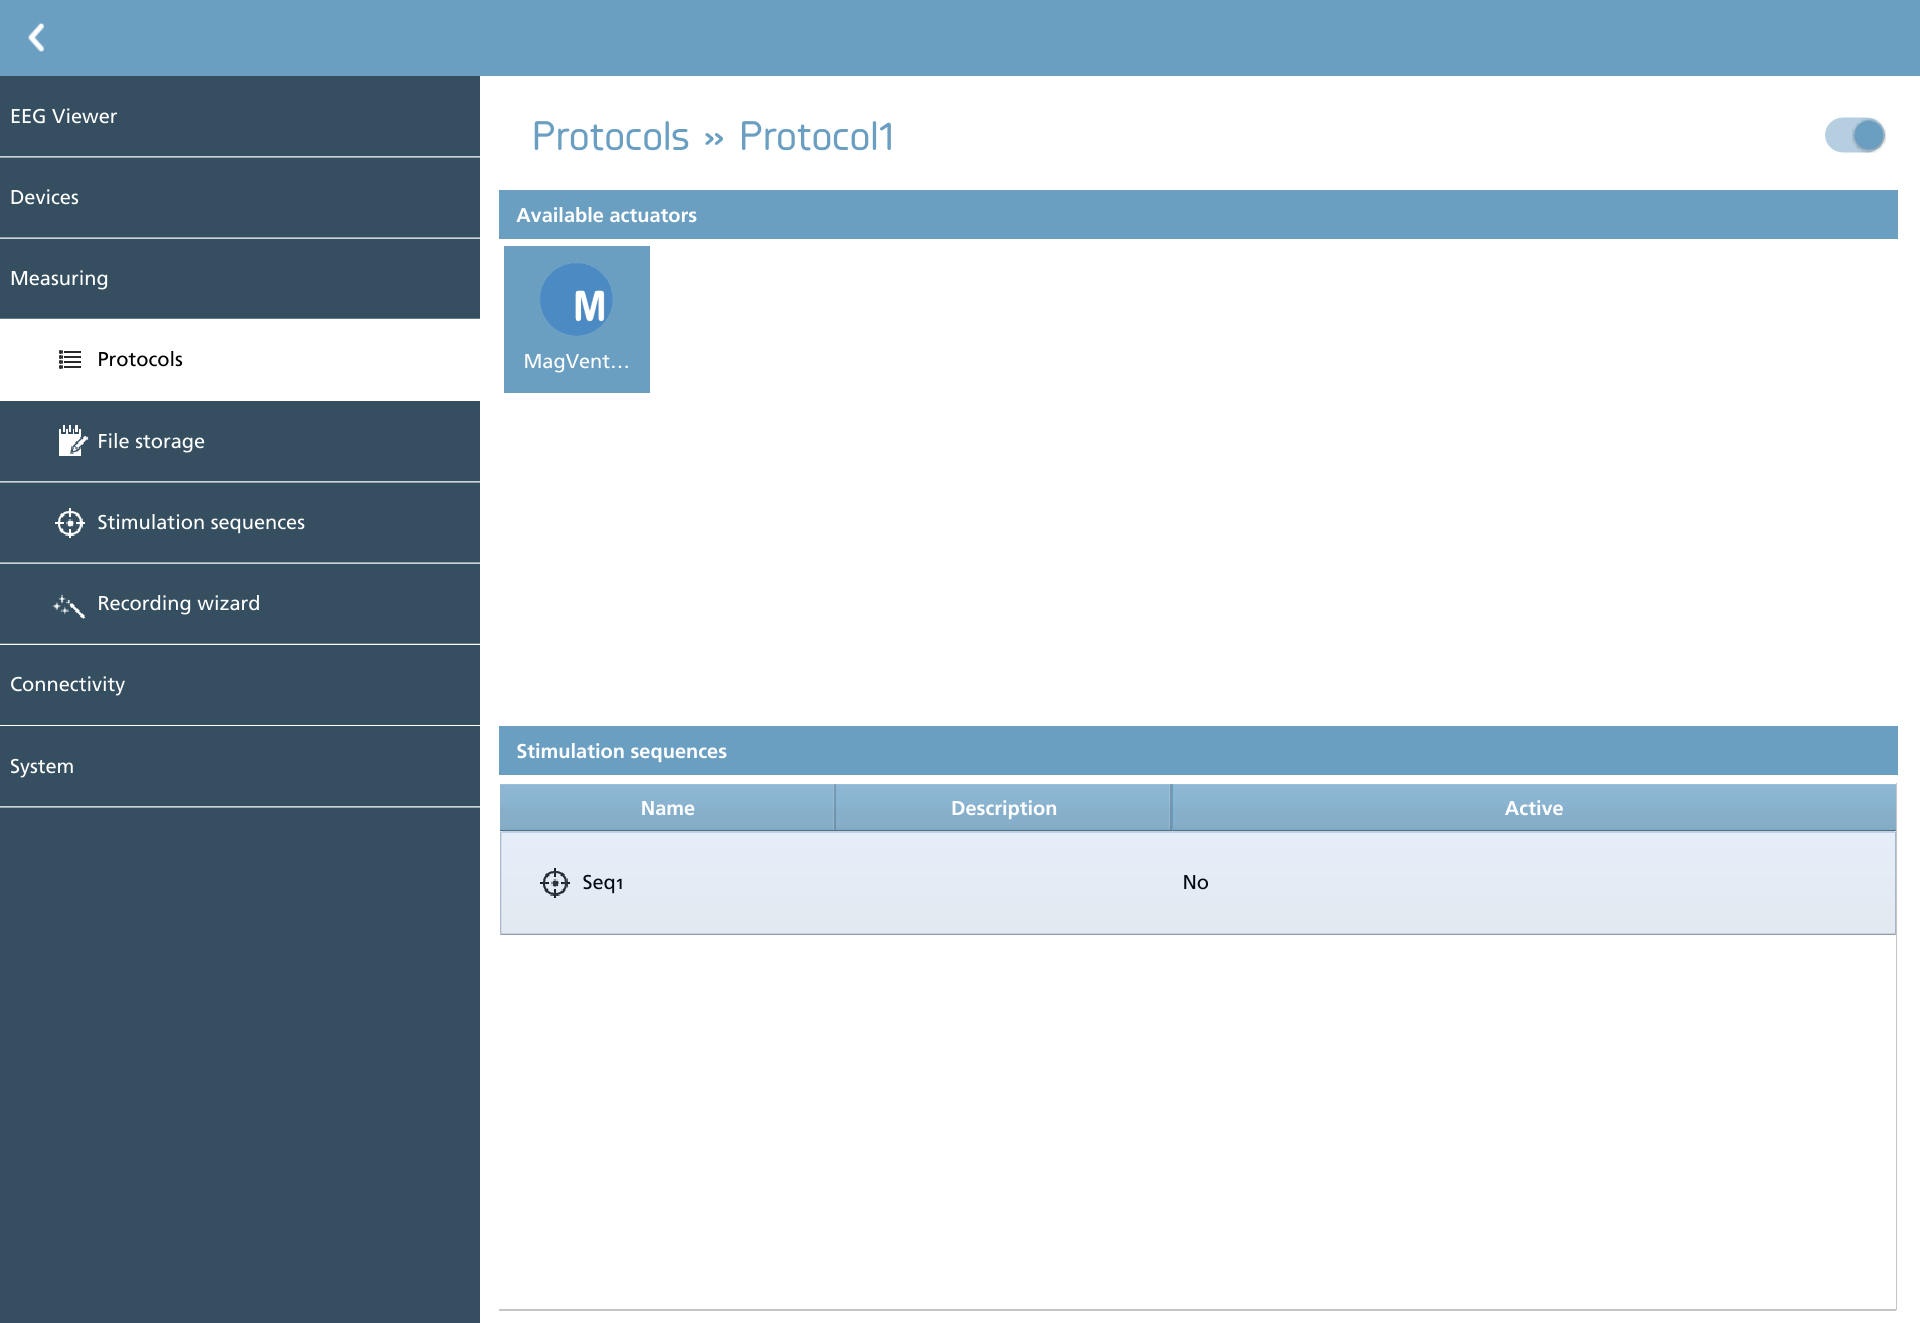
In this section, users can select an actuator from the available actuator list by clicking on the corresponding icon. To activate stimulation sequences for the selected actuator, double-click on the ‘Active’ column of the desired sequence and toggle the switch to the active state.
Recording script
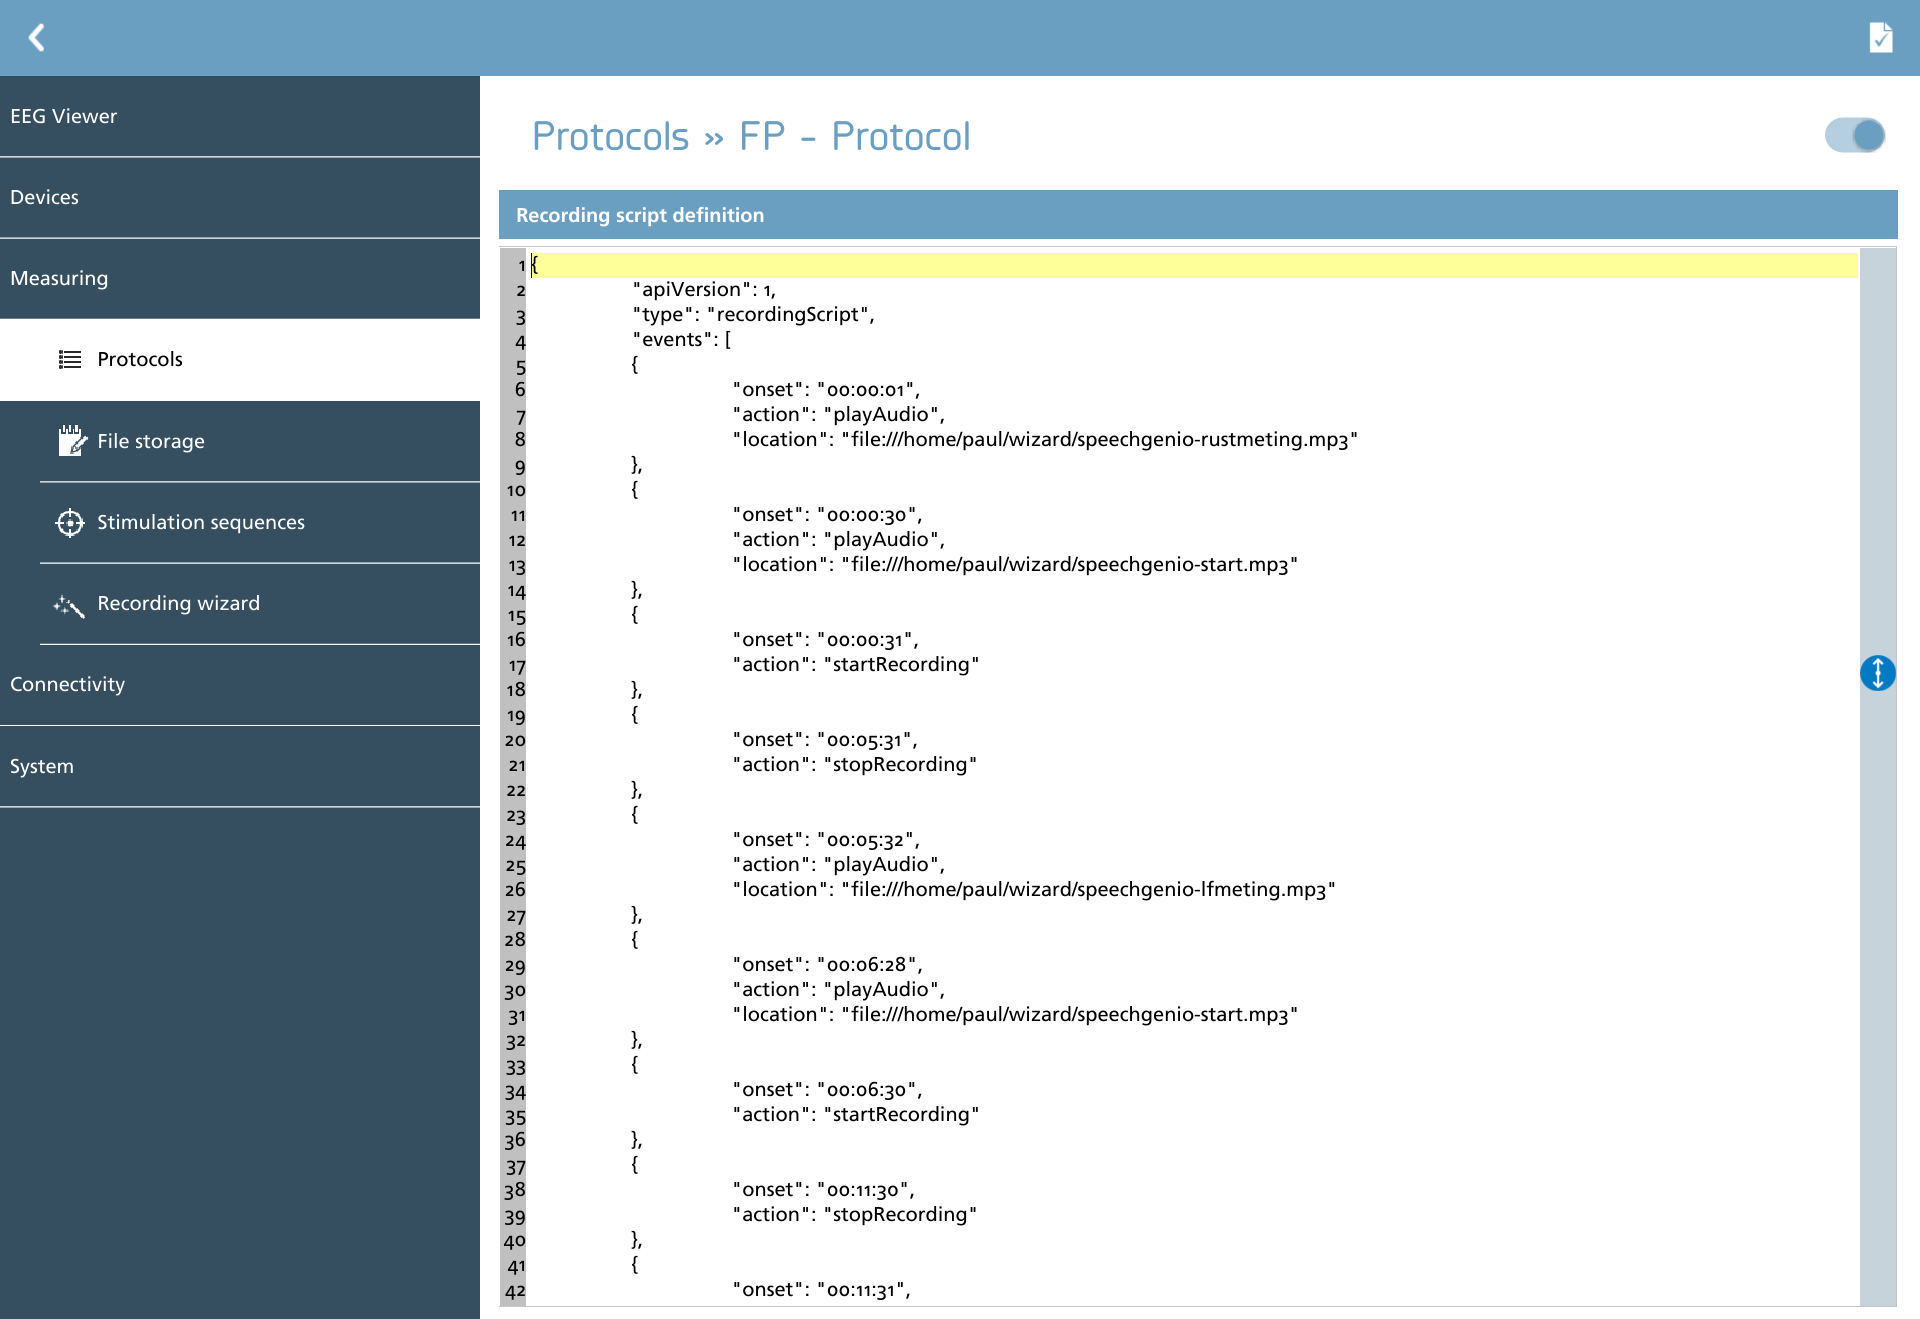
In this section, a recording script can be defined. This script facilitates timed recordings and events during a measurement process. The script consists of a JSON definition, which is illustrated here.
The action defined in the action toolbar serves the purpose of identifying errors within the JSON definition.
|
Icon |
Description |
|---|---|

|
Check Check the JSON definition for errors. |
The following JSON skeleton is essential for implementation.
{
	"apiVersion": 1,
	"type": "recordingScript",
	"events": [
	{
		...
	},
	{
		...
	}]
}
The keys within the root element possess specific meanings that are essential for understanding the structure and functionality of the document.
|
Name |
Possible values |
Required |
Description |
|---|---|---|---|
|
apiVersion |
1 |
X |
The version of this script |
|
type |
recordingScript |
X |
The type of JSON definition |
|
events |
array |
X |
Defines the events for this script |
Each object within the events array can possess the following keys, which delineate the characteristics of the event.
"events": [
{
	"onset": "00:00:01",
	"action": "playAudio",
	"location": "file:///home/wizard/speechgenio-start.mp3"
},
{
    ...
}]
|
Name |
Possible values |
Action |
Required |
Description |
|---|---|---|---|---|
|
action |
playAudio | startRecording | stopRecording | close |
All |
X |
Defines which action to perform.
|
|
onset |
time |
All |
X |
The onset from the start of the script to perform the action in hh:mm:ss format. |
|
location |
URL |
playAudio |
X |
Defines the location URL if external files are needed for this action. |