
Overview
When the video camera is properly configured, one can activate the preview button located in the action toolbar. This action will display a preview element and initiate the process of capturing video from the camera.
|
Icon |
Description |
|---|---|

|
Preview Start preview of the camera with the selected settings |
Plugins
The plugins delineate the video cameras that are accessible for use. Certain plugins may necessitate additional configuration, while those that do not require specific setup will not be elaborated upon in this context. Below is the current compilation of plugins along with a succinct description of each:
|
Icon |
Description |
Configurable |
|---|---|---|

|
AXIS Support for AXIS IP cameras. |
Yes |

|
Local Support for USB or built-in webcams |
Yes |
AXIS
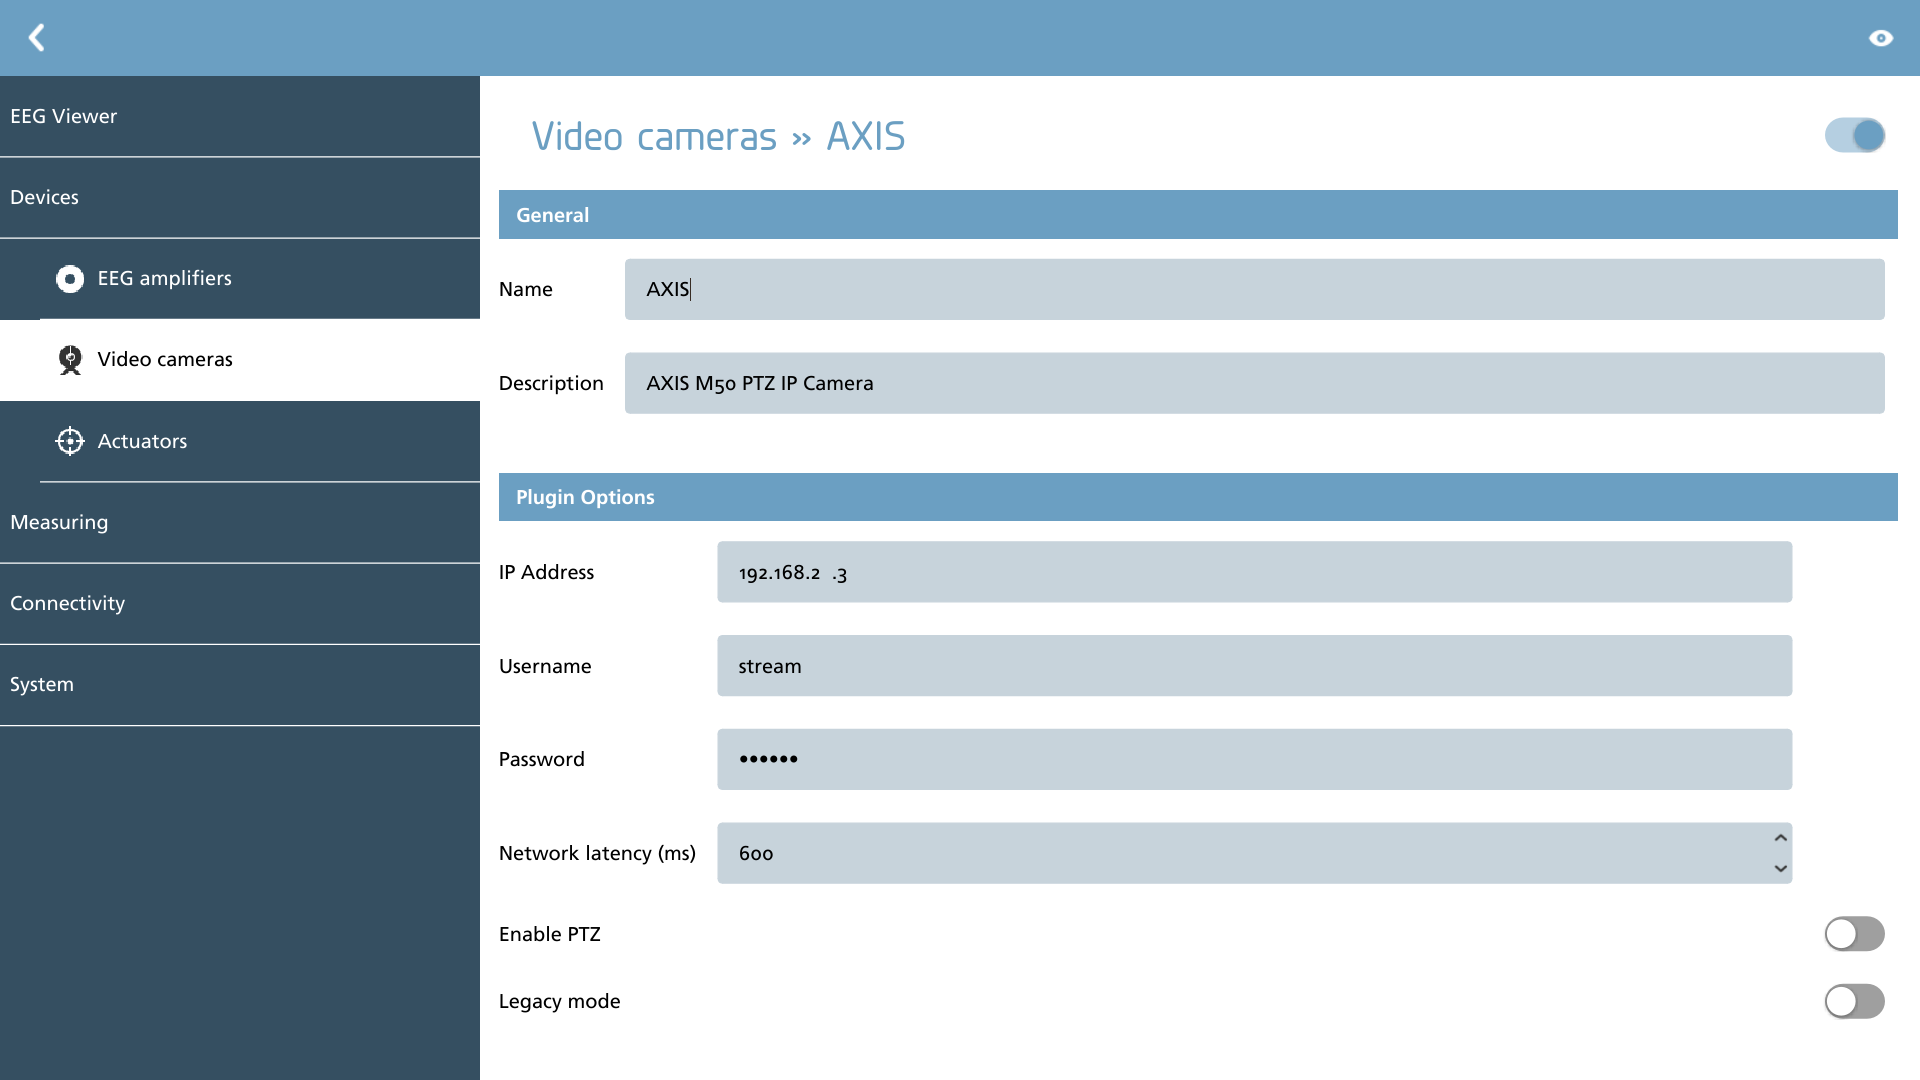
For AXIS devices, it is essential to specify the IP address that the device is recognized by within the network. Additionally, if a username and password have been configured for accessing the camera stream, it is important to provide that information as well. When dealing with IP cameras, network latency is an important factor to consider, as it takes time for packets to propagate across the network. Buffering can also contribute to this latency. To ensure accurate synchronization between the video stream and the EEG data, the network latency can be adjusted in this section.
If your AXIS camera supports Pan-Tilt-Zoom (PTZ) functionality, you have the option to enable the controls here. For older model cameras, it is advisable to enable legacy mode.
Local
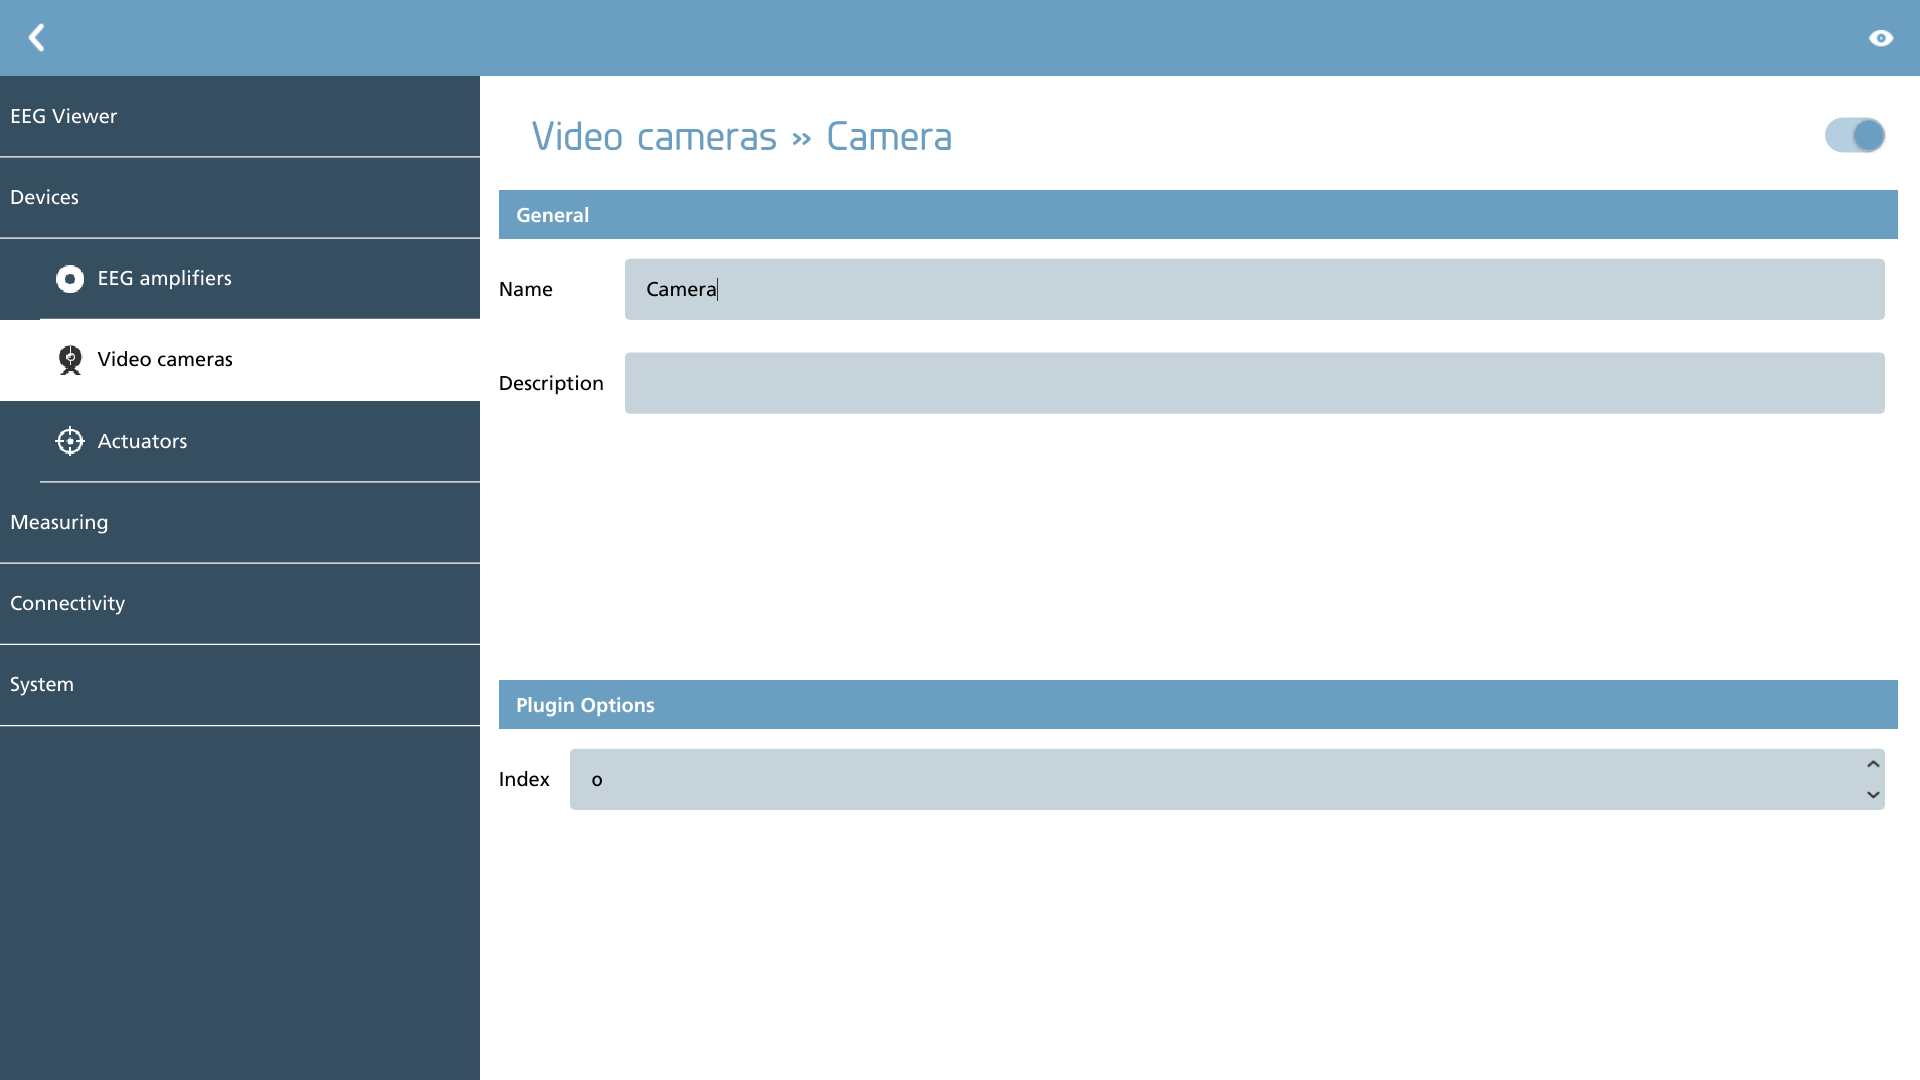
For locally attached cameras, it is essential to configure a USB index. Typically, this index is set to 0 when only a single camera is connected. However, in scenarios where a tablet is equipped with both a front and a back camera, it may be necessary to adjust this value to 1 to ensure proper functionality.