
Overview
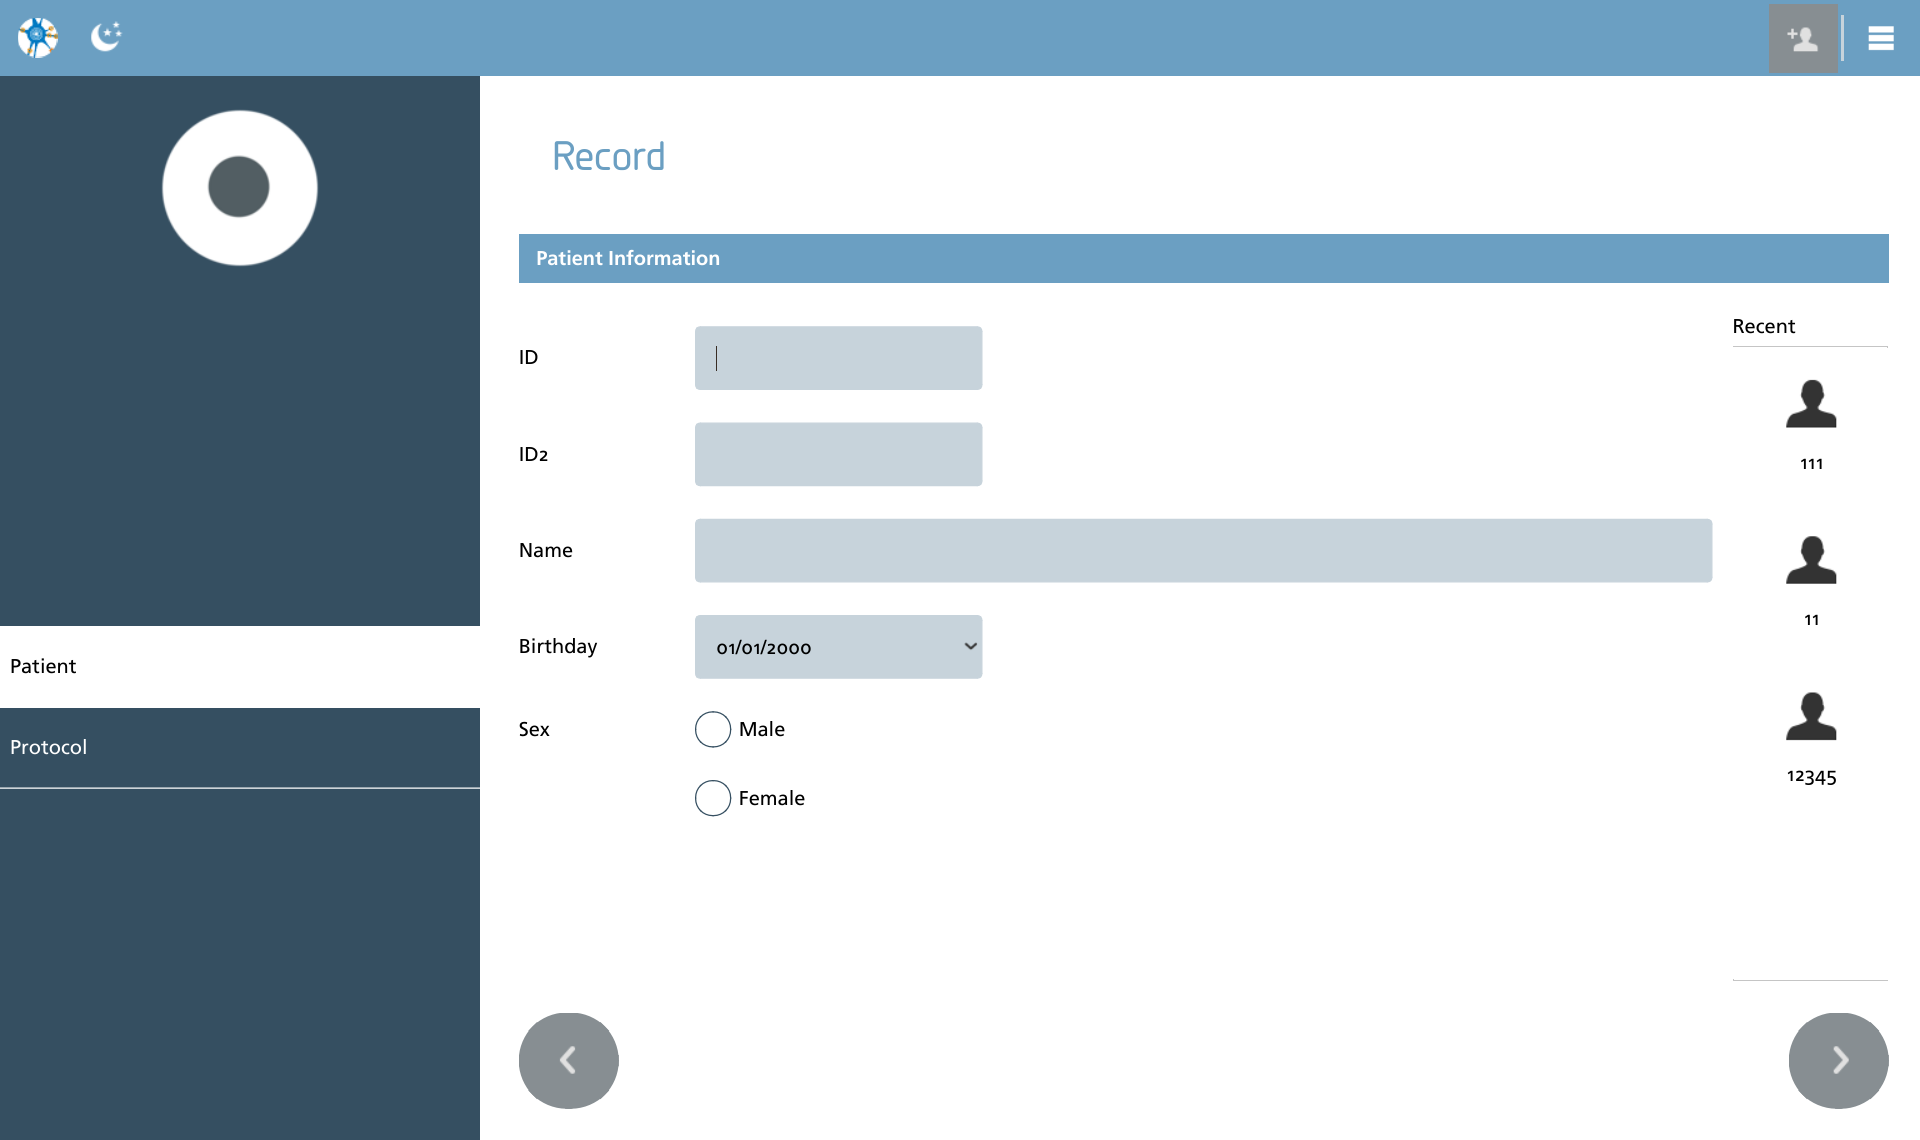
When initiating a new recording, the user is guided through a structured series of steps. These steps can be customized extensively to align with specific requirements. This approach is referred to as a recording wizard, and the fundamental recording wizard must include steps for collecting patient information as well as defining a recording protocol to be utilized.
Navigating the wizard
The most basic recording wizard is illustrated here, which is provided as the default option in NeuroCenter® EEG. Navigation through the wizard is facilitated by the arrow buttons located at the bottom of the screen. A grayed-out button signifies that the wizard cannot proceed, as certain conditions on that page have not been satisfied.
|
Icon |
Description |
|---|---|

|
Go back Go back to the previous page in the recording wizard. |

|
Advance To proceed to the subsequent page in the recording wizard, ensure that all necessary conditions are satisfied; otherwise, the option will appear grayed-out. |
Patient
The patient screen serves as a vital interface for entering fundamental information regarding the patient, including their ID, name, sex, and date of birth. This data can also be populated automatically if there is an active connection to the Health Information System (HIS). For guidance on configuring the HIS infrastructure, please consult this section in the configuration documentation.
When utilizing the HIS patient query feature, it is essential to input the patient's ID and then select the query patient action from the action toolbar. This process will retrieve the relevant details from the HIS and populate them into their designated fields.
|
Icon |
Description |
|---|---|

|
Query the HIS Query the HIS for this patient ID and fill in the empty fields. |
Protocol
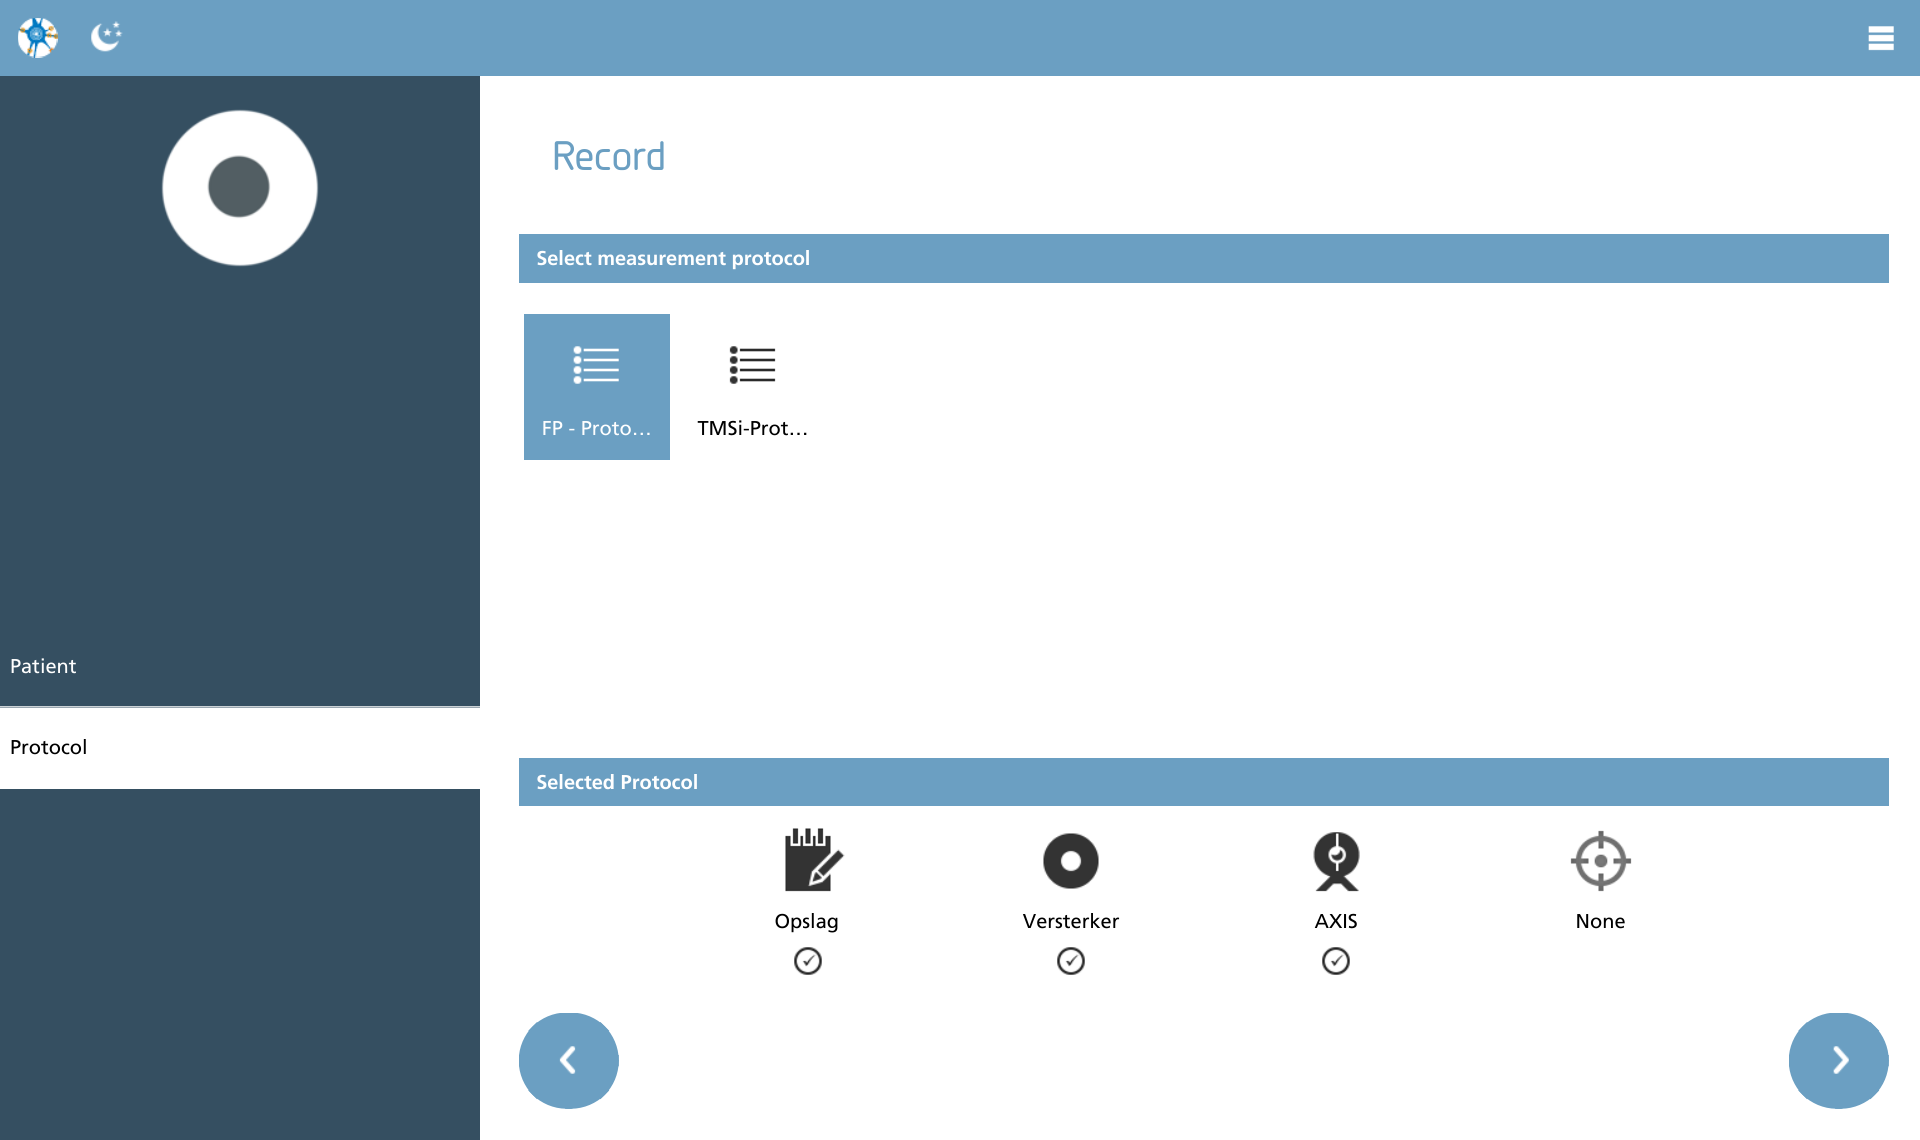
The protocol screen provides a comprehensive overview of the available measurement protocols. A measurement protocol is characterized by the inclusion of an amplifier, a storage container, an optional video camera, and an optional actuator. Additionally, the protocol encompasses various settings related to layout, filters, and other parameters.
Checks
Upon the selection of a protocol, a series of checks are conducted on the peripherals to ensure that measurement can commence. The status of these checks is displayed below each peripheral and is defined as follows.
|
Icon |
Description |
|---|---|

|
Check started The check is being initialized |

|
Check in progress The check is being performed |

|
Check successful The peripheral passed the check and can be used |

|
Check failed The peripheral failed the check and an error message is shown indicating follow-up actions |
The following peripherals are checked with each selection. It is essential that the required peripherals successfully pass this check prior to the commencement of any measurements.
|
Icon |
Description |
Required |
|---|---|---|

|
Storage container |
X |

|
Amplifier |
X |

|
Video camera |
- |

|
Actuator |
- |
EEG Viewer
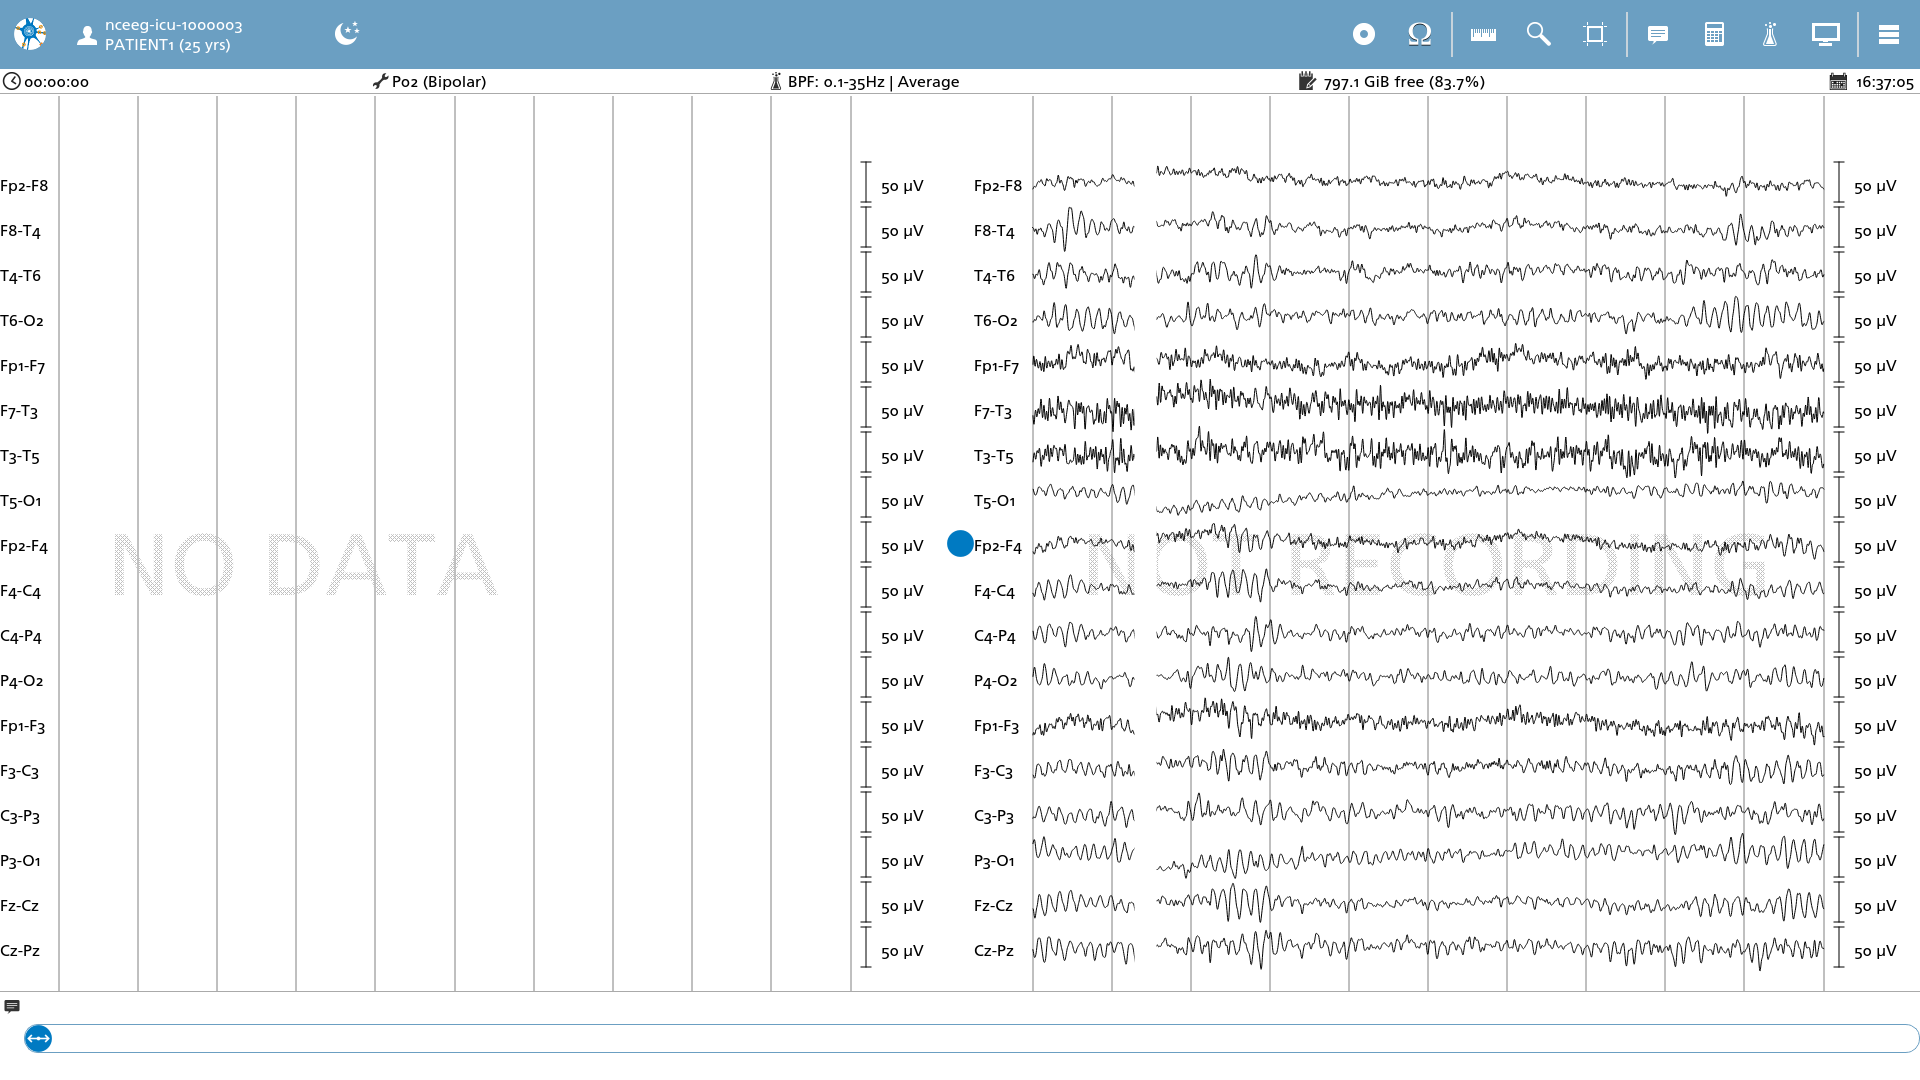
When the wizard completes its process, the viewer transitions into data acquisition mode. Depending on your particular protocol settings, this view may vary. The functionality of the EEG Viewer is explored in greater detail in this section. For a comprehensive review of specific recording-related options within the viewer, please consult this section.